Marfeel Amplify’s Global Settings are the high level settings that will apply to all of your connected accounts unless you define specific account-level settings, which will always take precedence over global ones.
Global Settings
To configure your global settings, open the Amplify tab in the sidebar menu on the left and navigate to Social Settings > Appearance. You will be presented with Marfeel Amplify’s global settings menu.
Global Settings only apply when there is no Account Setting configured for a combination of Account and property.
Channel Defaults
Some Global Settings are configured per each Channel, since, for instance, Copilot Prompt for Instagram accounts should not be the same as the one for LinkedIn ones. They can be found Global Settings, and will also apply only when there is no Account Setting configured for a combination of Account and property.
Master Amplify, step by step
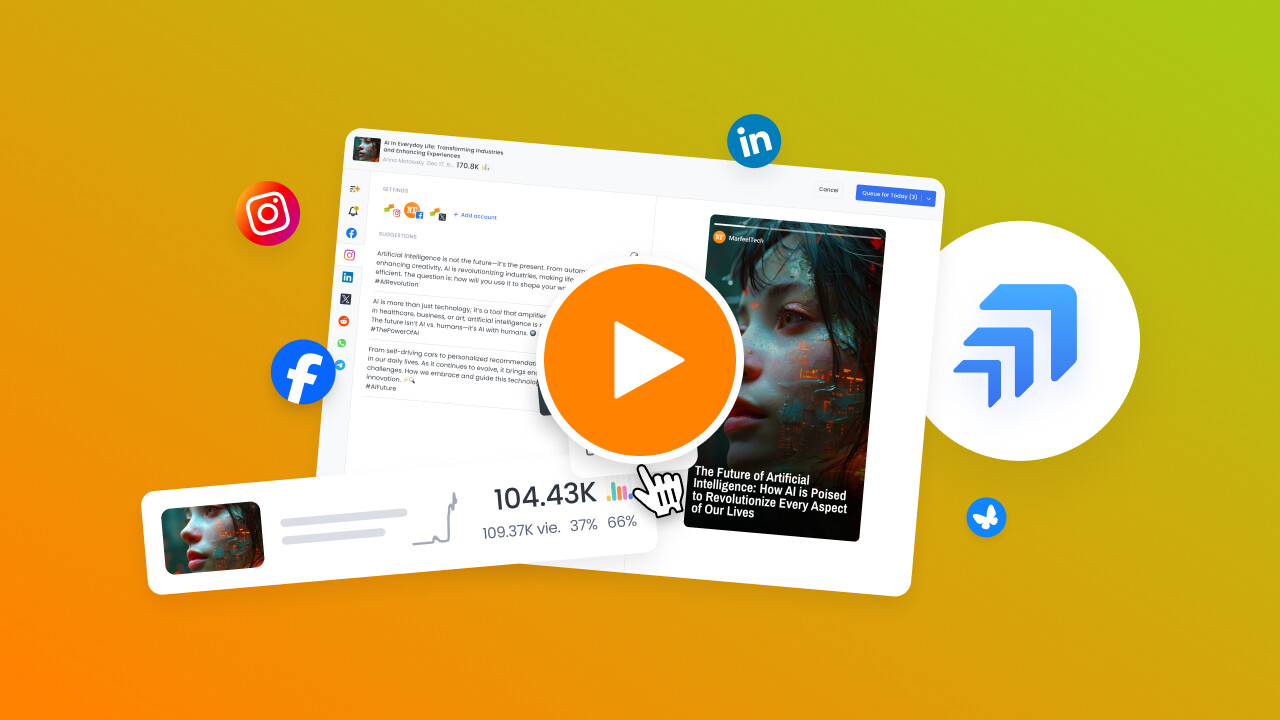
The video below is an excerpt from the Amplify Fundamentals course.

![]() Discover more learning paths on Marfeel Academy.
Discover more learning paths on Marfeel Academy.
Account Settings
Account Settings apply to each of your connected accounts.
To configure your Amplify accounts settings, open Feed Details screen for any of your accounts and click on the Settings ![]() button in the top right. You will be presented with Amplify’s account settings menu.
button in the top right. You will be presented with Amplify’s account settings menu.
Each configured Account Setting takes precedence over the configured Global Setting for that property.
List of Settings
Aspect Ratio
Aspect ratio is the default image sizing for the selected channel. Each channel admits different aspect ratios, so we recommend selecting the one that occupies the most space in the viewport. We advise you to consult with your design team to define which choice is most adequate.
Avatar
The small image used in mobile apps and in browser windows, often the isotype of your logo. Will be used in your Link in Bio page. Make sure you use a high resolution png version with a transparent background.
Avatar alignment
Alignment for the Avatar described above.
Border radius
Defines the angle of the curvature of the border of images generated by Marfeel for your social posts.
Copilot Prompt
Copilot prompts are used by Marfeel Amplify to write copy for your posts automatically. These prompts can be simple (“give me ideas for social media posts”) or very specific (“suggest social media posts that are serious and emphasize data points and numerical figures”). Visit our dedicated article to learn more about Copilot prompts.
Custom CSS
Custom CSS block to include on Amplify Layouts. Allows global styling like adding custom fonts .
First Comment
Allows you to define the first comment that will be used on certain social platforms where it is advisable to insert the link to an article in a comment beneath your post instead of in the post body.
Layout
Layouts are HTML and CSS code used to automatically create and style images for your social posts. Here, you will need to select which layout to use by default on each of your social channels. Visit our dedicated article to learn how to set up and configure layouts.
Link in Bio
Allows you to define the text of the Link in Bio page used for Instagram and other link-less platforms’ accounts.
Logo
Your publication’s logo. Make sure you use a high resolution .png version with a transparent background.
Logo alignment
Allows you to specify how your logo will be positioned in images.
Accent color
Allows you to select the primary color that will be used to style certain parts of your images.
Background Color
Allows you to select the color that will appear behind your images or design elements.
Text alignment
Defines how text should be positioned in images that are generated by Marfeel for your social posts.
Timezone
Allows you to select the timezone for the account, which will define your feed’s calendar so that posts are scheduled at the right time. Timezone will default to the one configured on Marfeel’s Organization Settings.
Typography
Allows you to select font type and font size that will be used to generate text in your images. It is possible to use custom fonts. To do so, you will need the font’s file to be hosted on a server and the URL address for it.
-
Go to Appearance and in the
Typographyfield, input the name of the font you want to use. -
Lower down, in the
Custom CSSfield, input the following code, replacing the value afterfont-familywith the name of the font you want to use, and the url aftersrc: urlwith the address where the font is hosted.
@font-face {
    font-family: 'Roboto';
    font-weight: 600;
    src: url("https://www.example.com/static/fonts/roboto.woff2");
    font-display: swap;
}
- Make sure that the font’s name in
Typographyis written exactly as it appears in theCustom CSSfield, including spaces and casing. Otherwise Amplify won’t be able to identify and import it.
Custom fonts can also be imported from Google Fonts. To do so, input the following code in the Custom CSS field, replacing the example url seen below for the font you would like to use:
@import url('https://fonts.googleapis.com/css2?family=Roboto:ital,wght@0,100..900;1,100..900&display=swap')
Repost Period
Defines how much time must pass before an already posted article can be suggested again in smart recommendations and for automated feeds. The system enforces a minimum interval of 4 hours, regardless of the value set.
Max Reposts
Defines how many times can an article be reposted before it is excluded from recommendations. It will only consider resposts during last 30 days. You can set this value to 0 if you do not want already posted articles to be ever suggested in your feed or posted automatically.
Learn how to publish smarter, automate sharing, and optimize your social strategy with our Marfeel Amplify Course.
Workflow-focused training
![]() Start now on Marfeel Academy.
Start now on Marfeel Academy.