The Meta Pixel Experience allows defining audiences and track them via Meta Pixel events in order to:
- Improve your ranking on audience auditors like Comscore re-engaging users that have not visited your site within the last 30 days. Read more.
- Turn lovers into subscribers re-engaging them. Read more.
- Increase your subscribers base with lookalikes to your existing subscribers and lovers. Read more.
- Target funnel dropouts by configuring 2 pixels: one with users who entered your subscription funnel and another one with your subscribers. Target in Facebook users in first filter that don’t belong in second one. Read more.
In order to get the Marfeel Experience working you’ll need to create an Experience with the desired audience segment and create a Meta pixel on Facebook.
Marfeel Experience Configuration
Follow these steps to configure the Meta Pixel Experience:
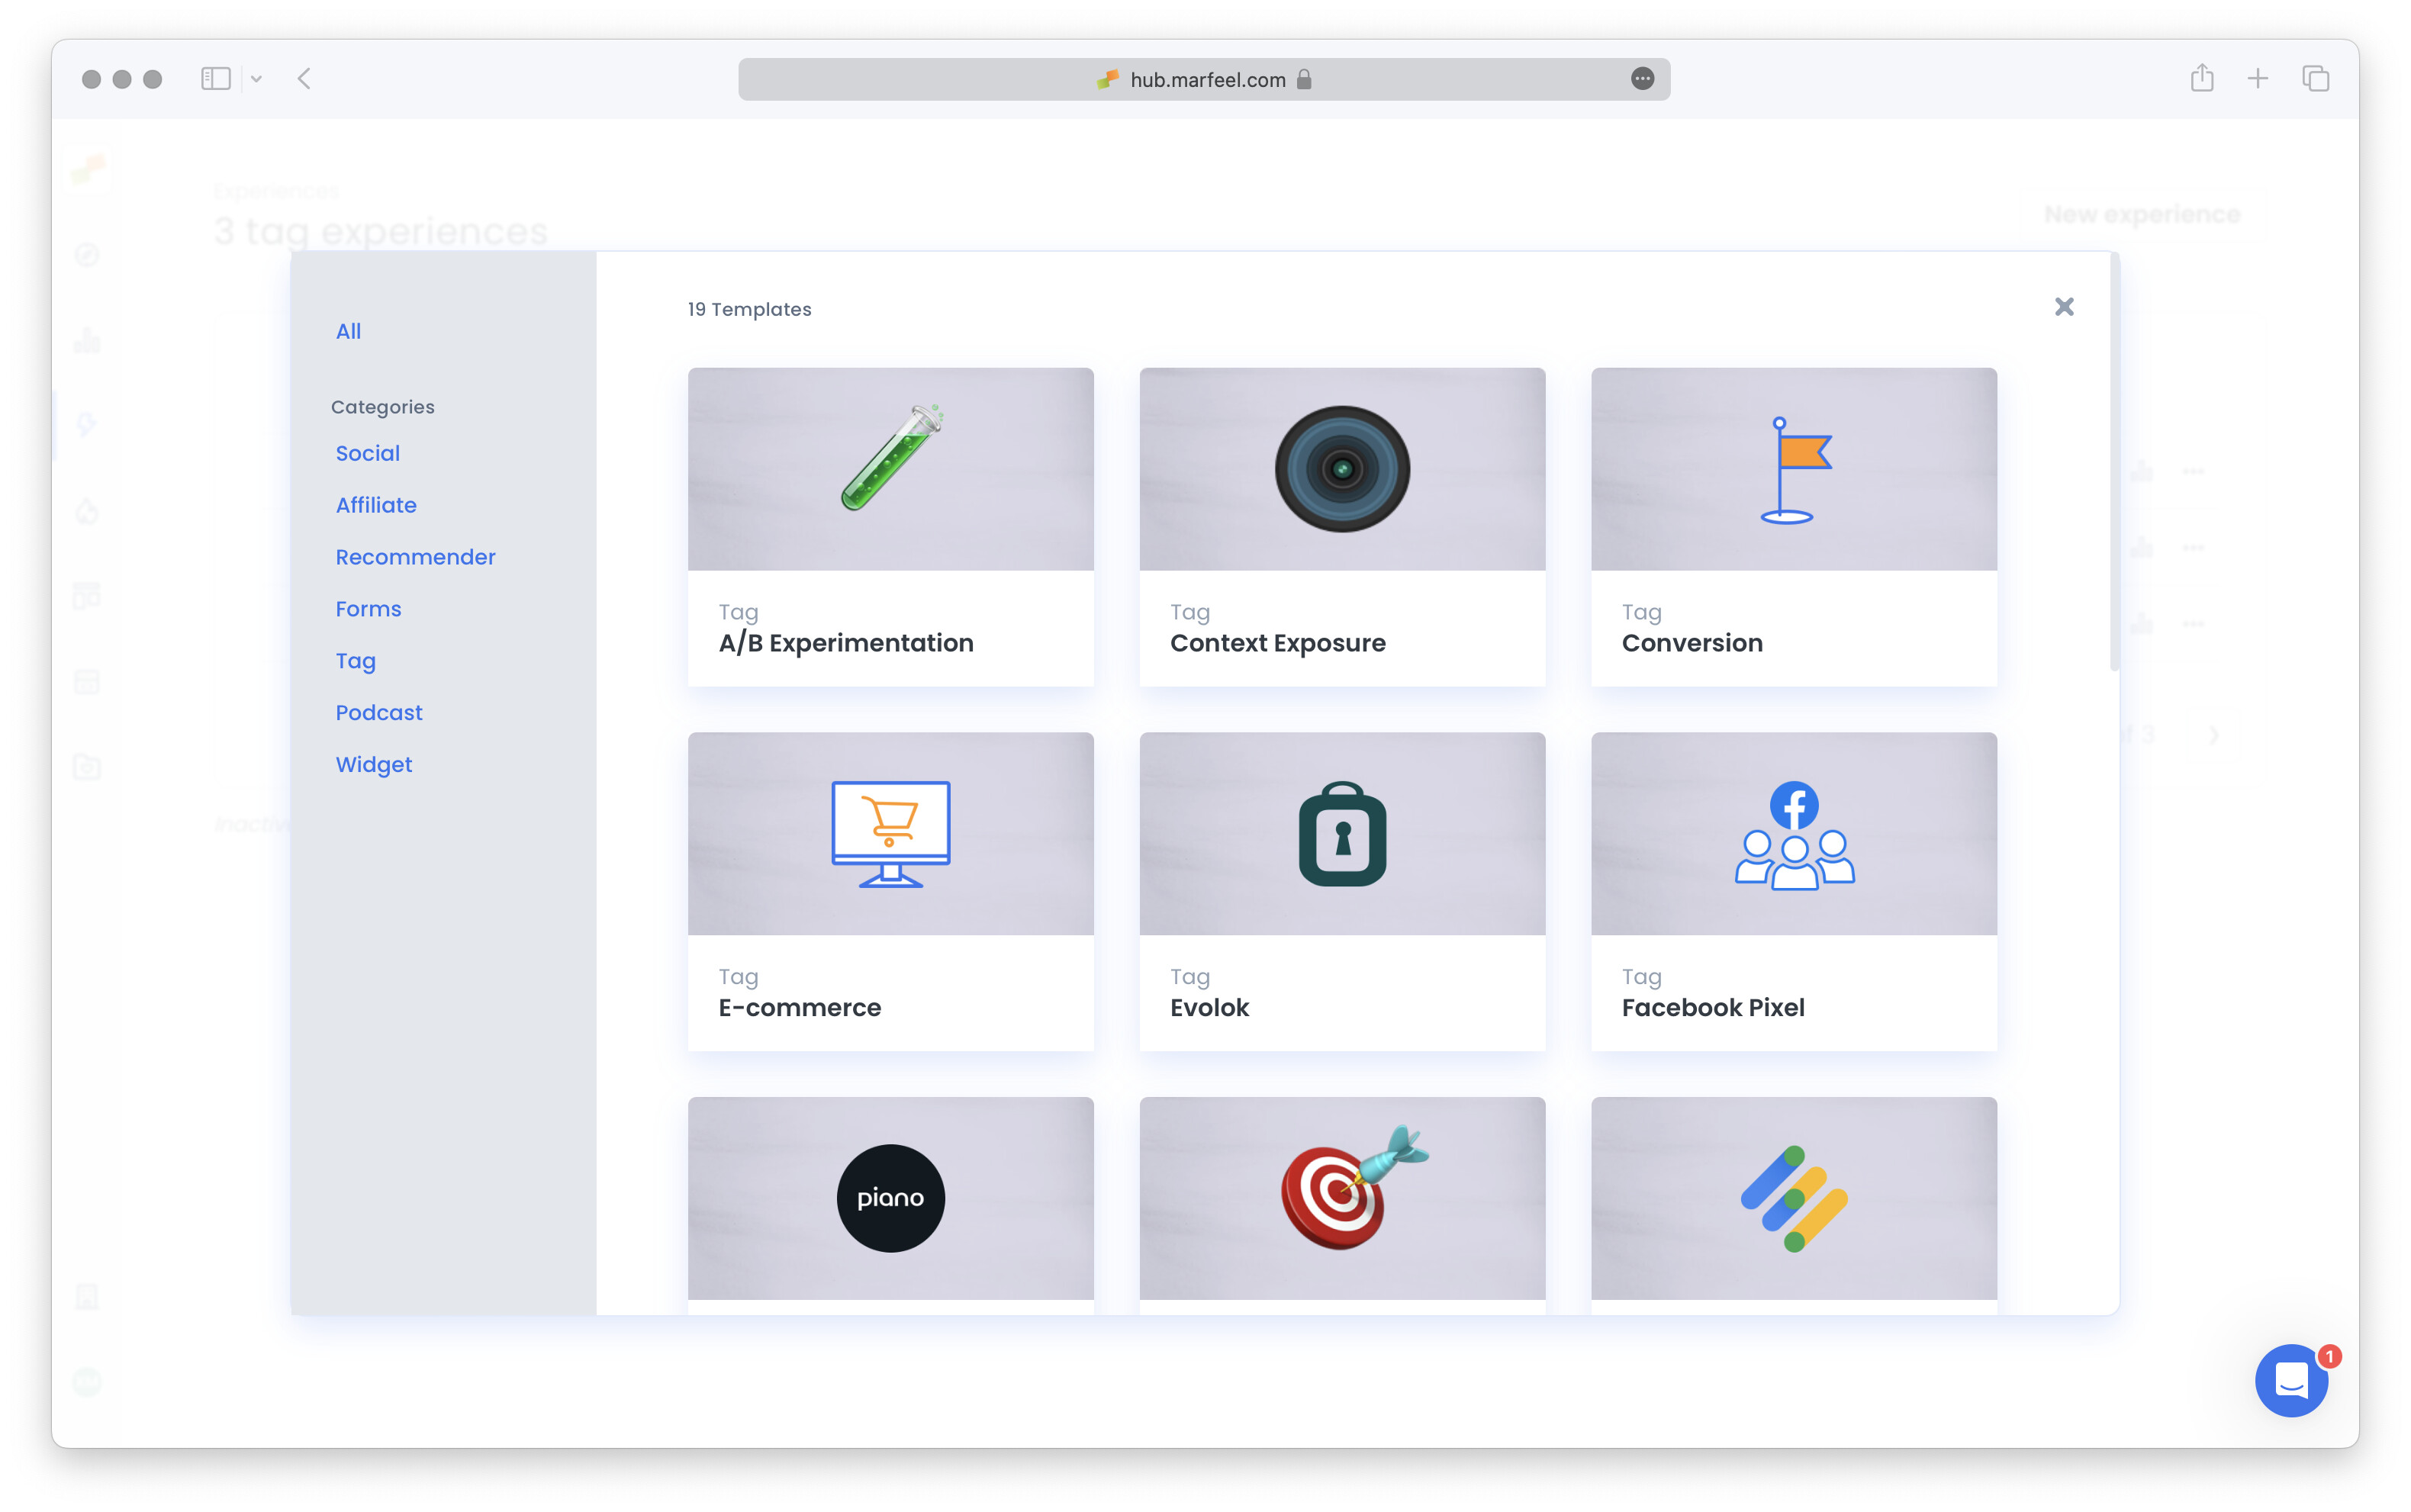
- In Experience Manager, click on
New Experiencebutton and then navigate toTagsection. SelectFacebook Pixel
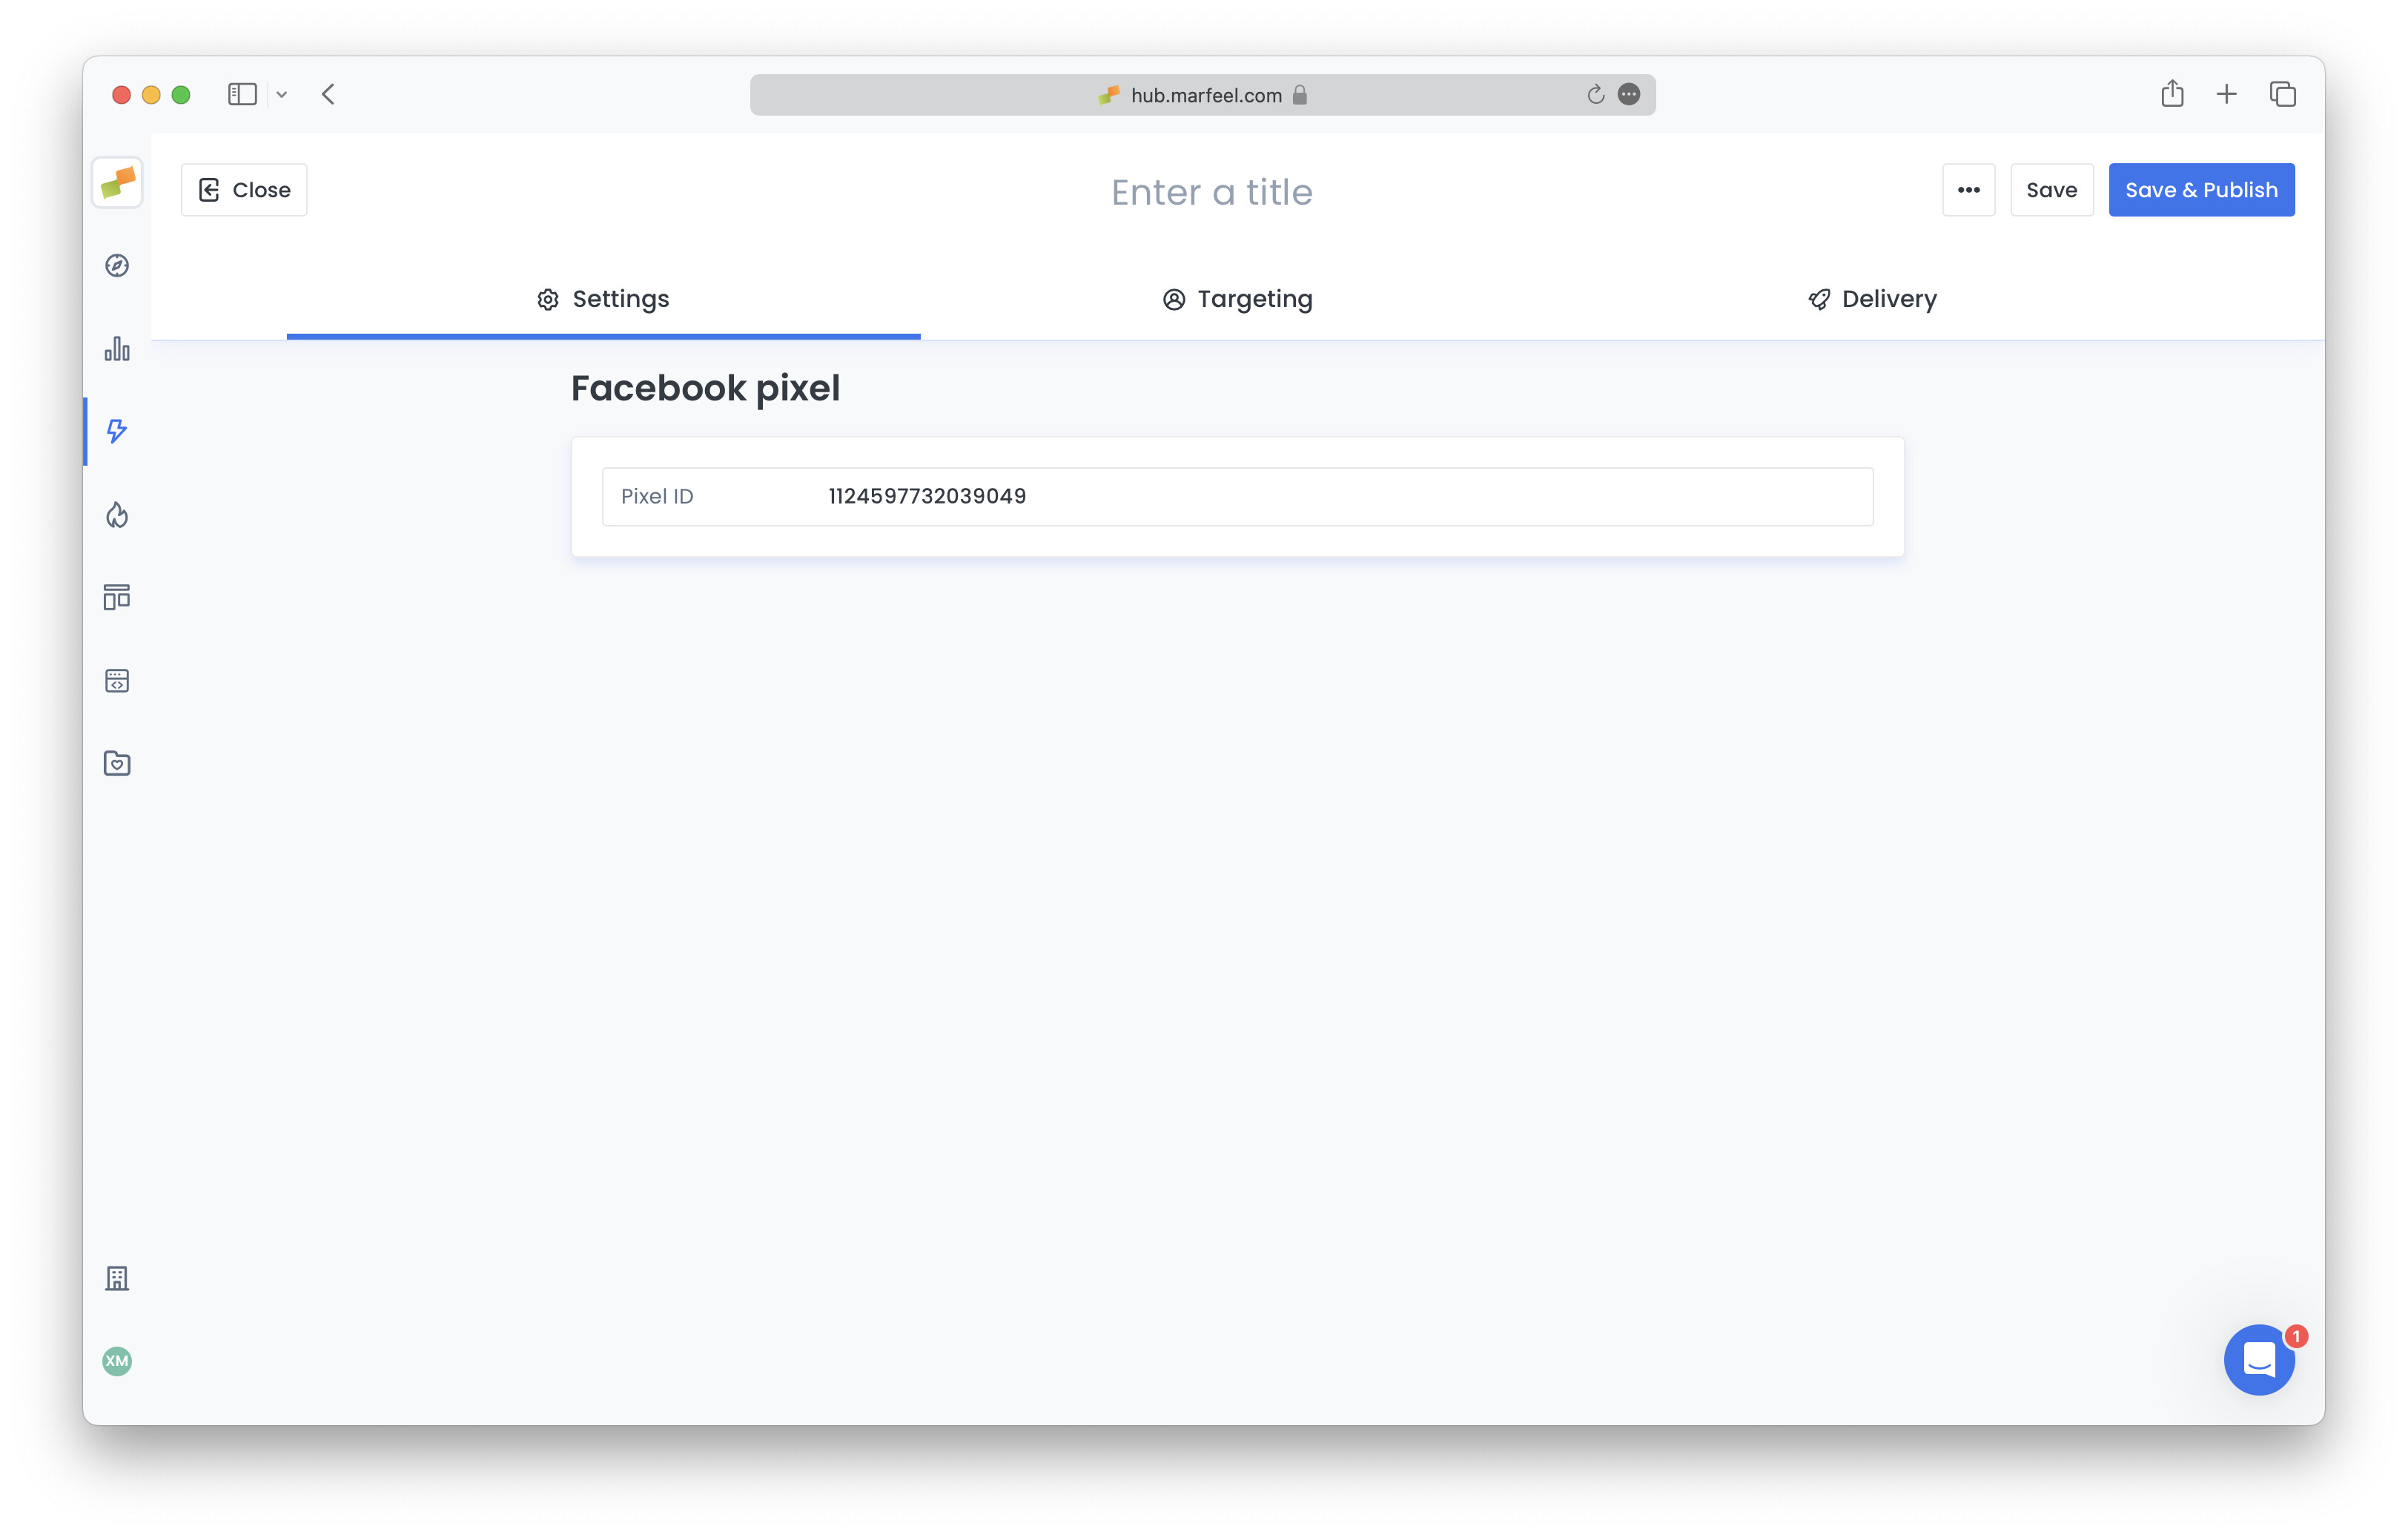
- On Settings tab, provide the Meta Pixel ID you want to triggre
- Define the audience in the targeting and delivery options that configure when Meta Pixel will trigger. For most use cases, one daily event per user should be enough.
- Publish the experience. It might take up to 20 minutes for initial data to start appearing in Facebook’s Events Manager.
How to obtain your Facebook Pixel ID
Existing Pixel
If you already have a Meta Pixel configured you can obtain its ID by:
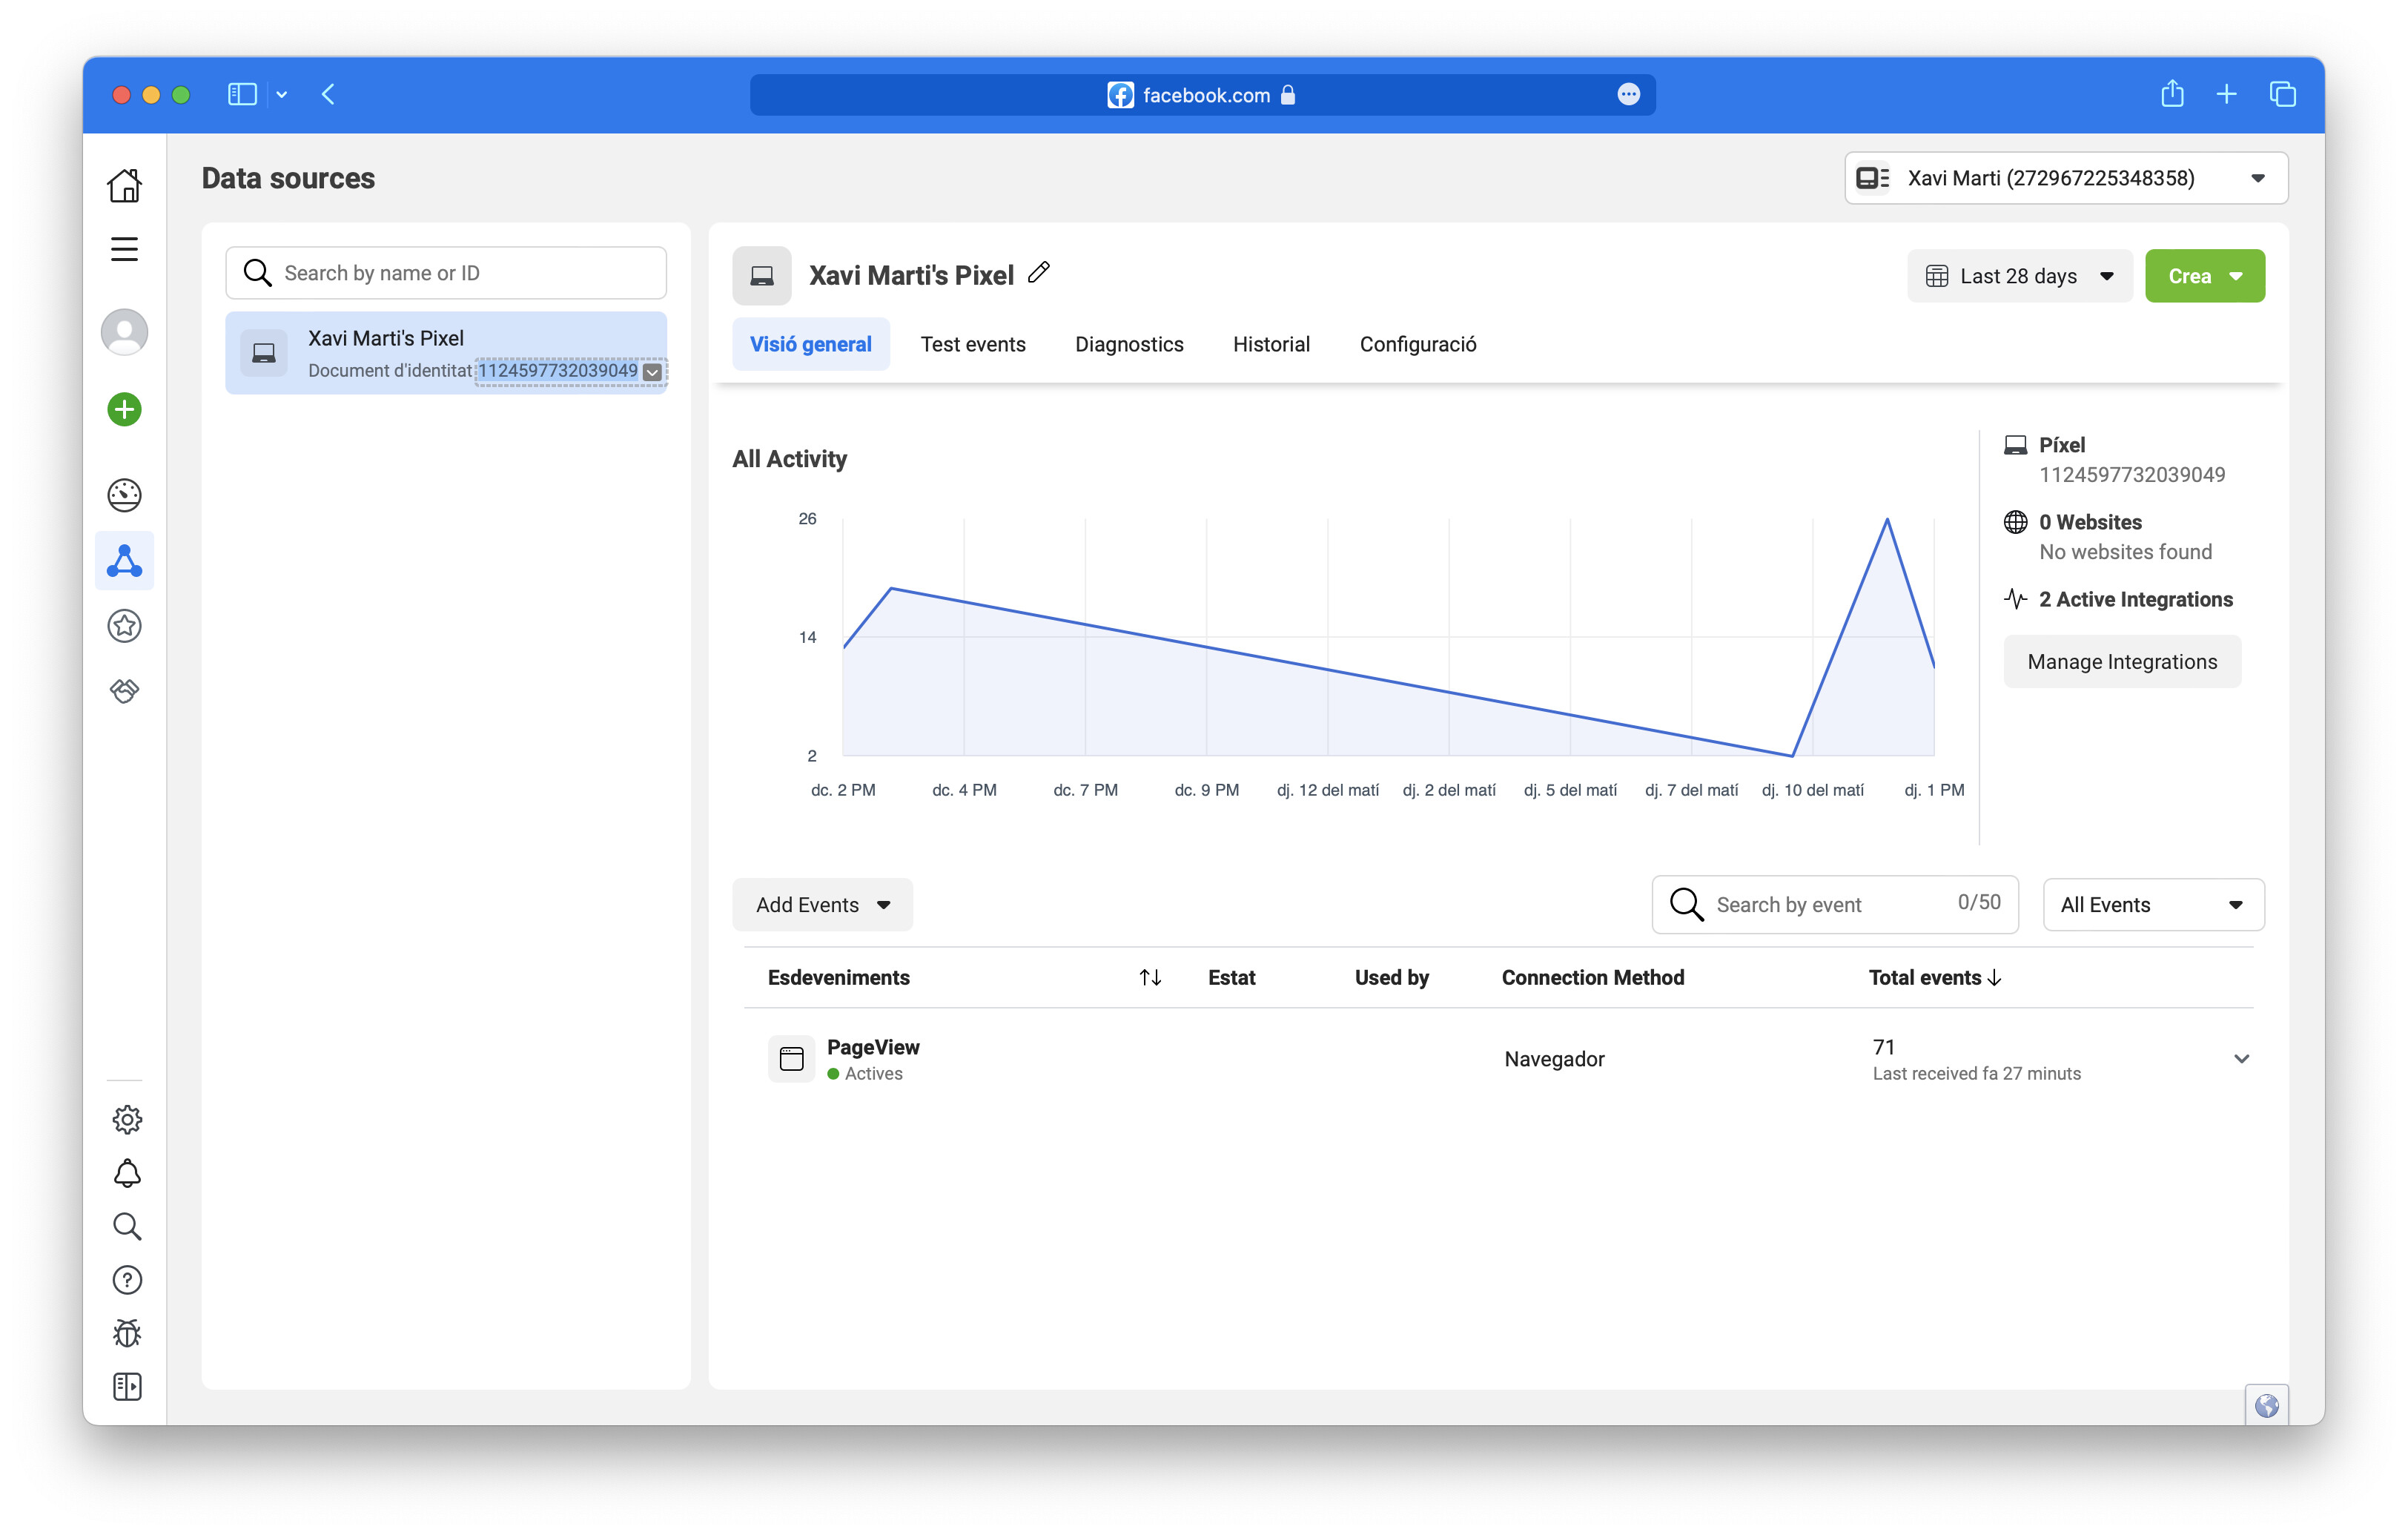
- Visit Facebook’s Events Manager
- Click on
Data Sourcesin the sidebar. - You will get a list of configured pixels and their respective IDs on the left column.
Creating a new Pixel
In order to create a Facebook Pixel, you can follow Facebook’s documentation. Here’s a summary of the steps to follow. Before staring, you’ll need to have both a Meta Business Suite account and an active Ad Account as well.
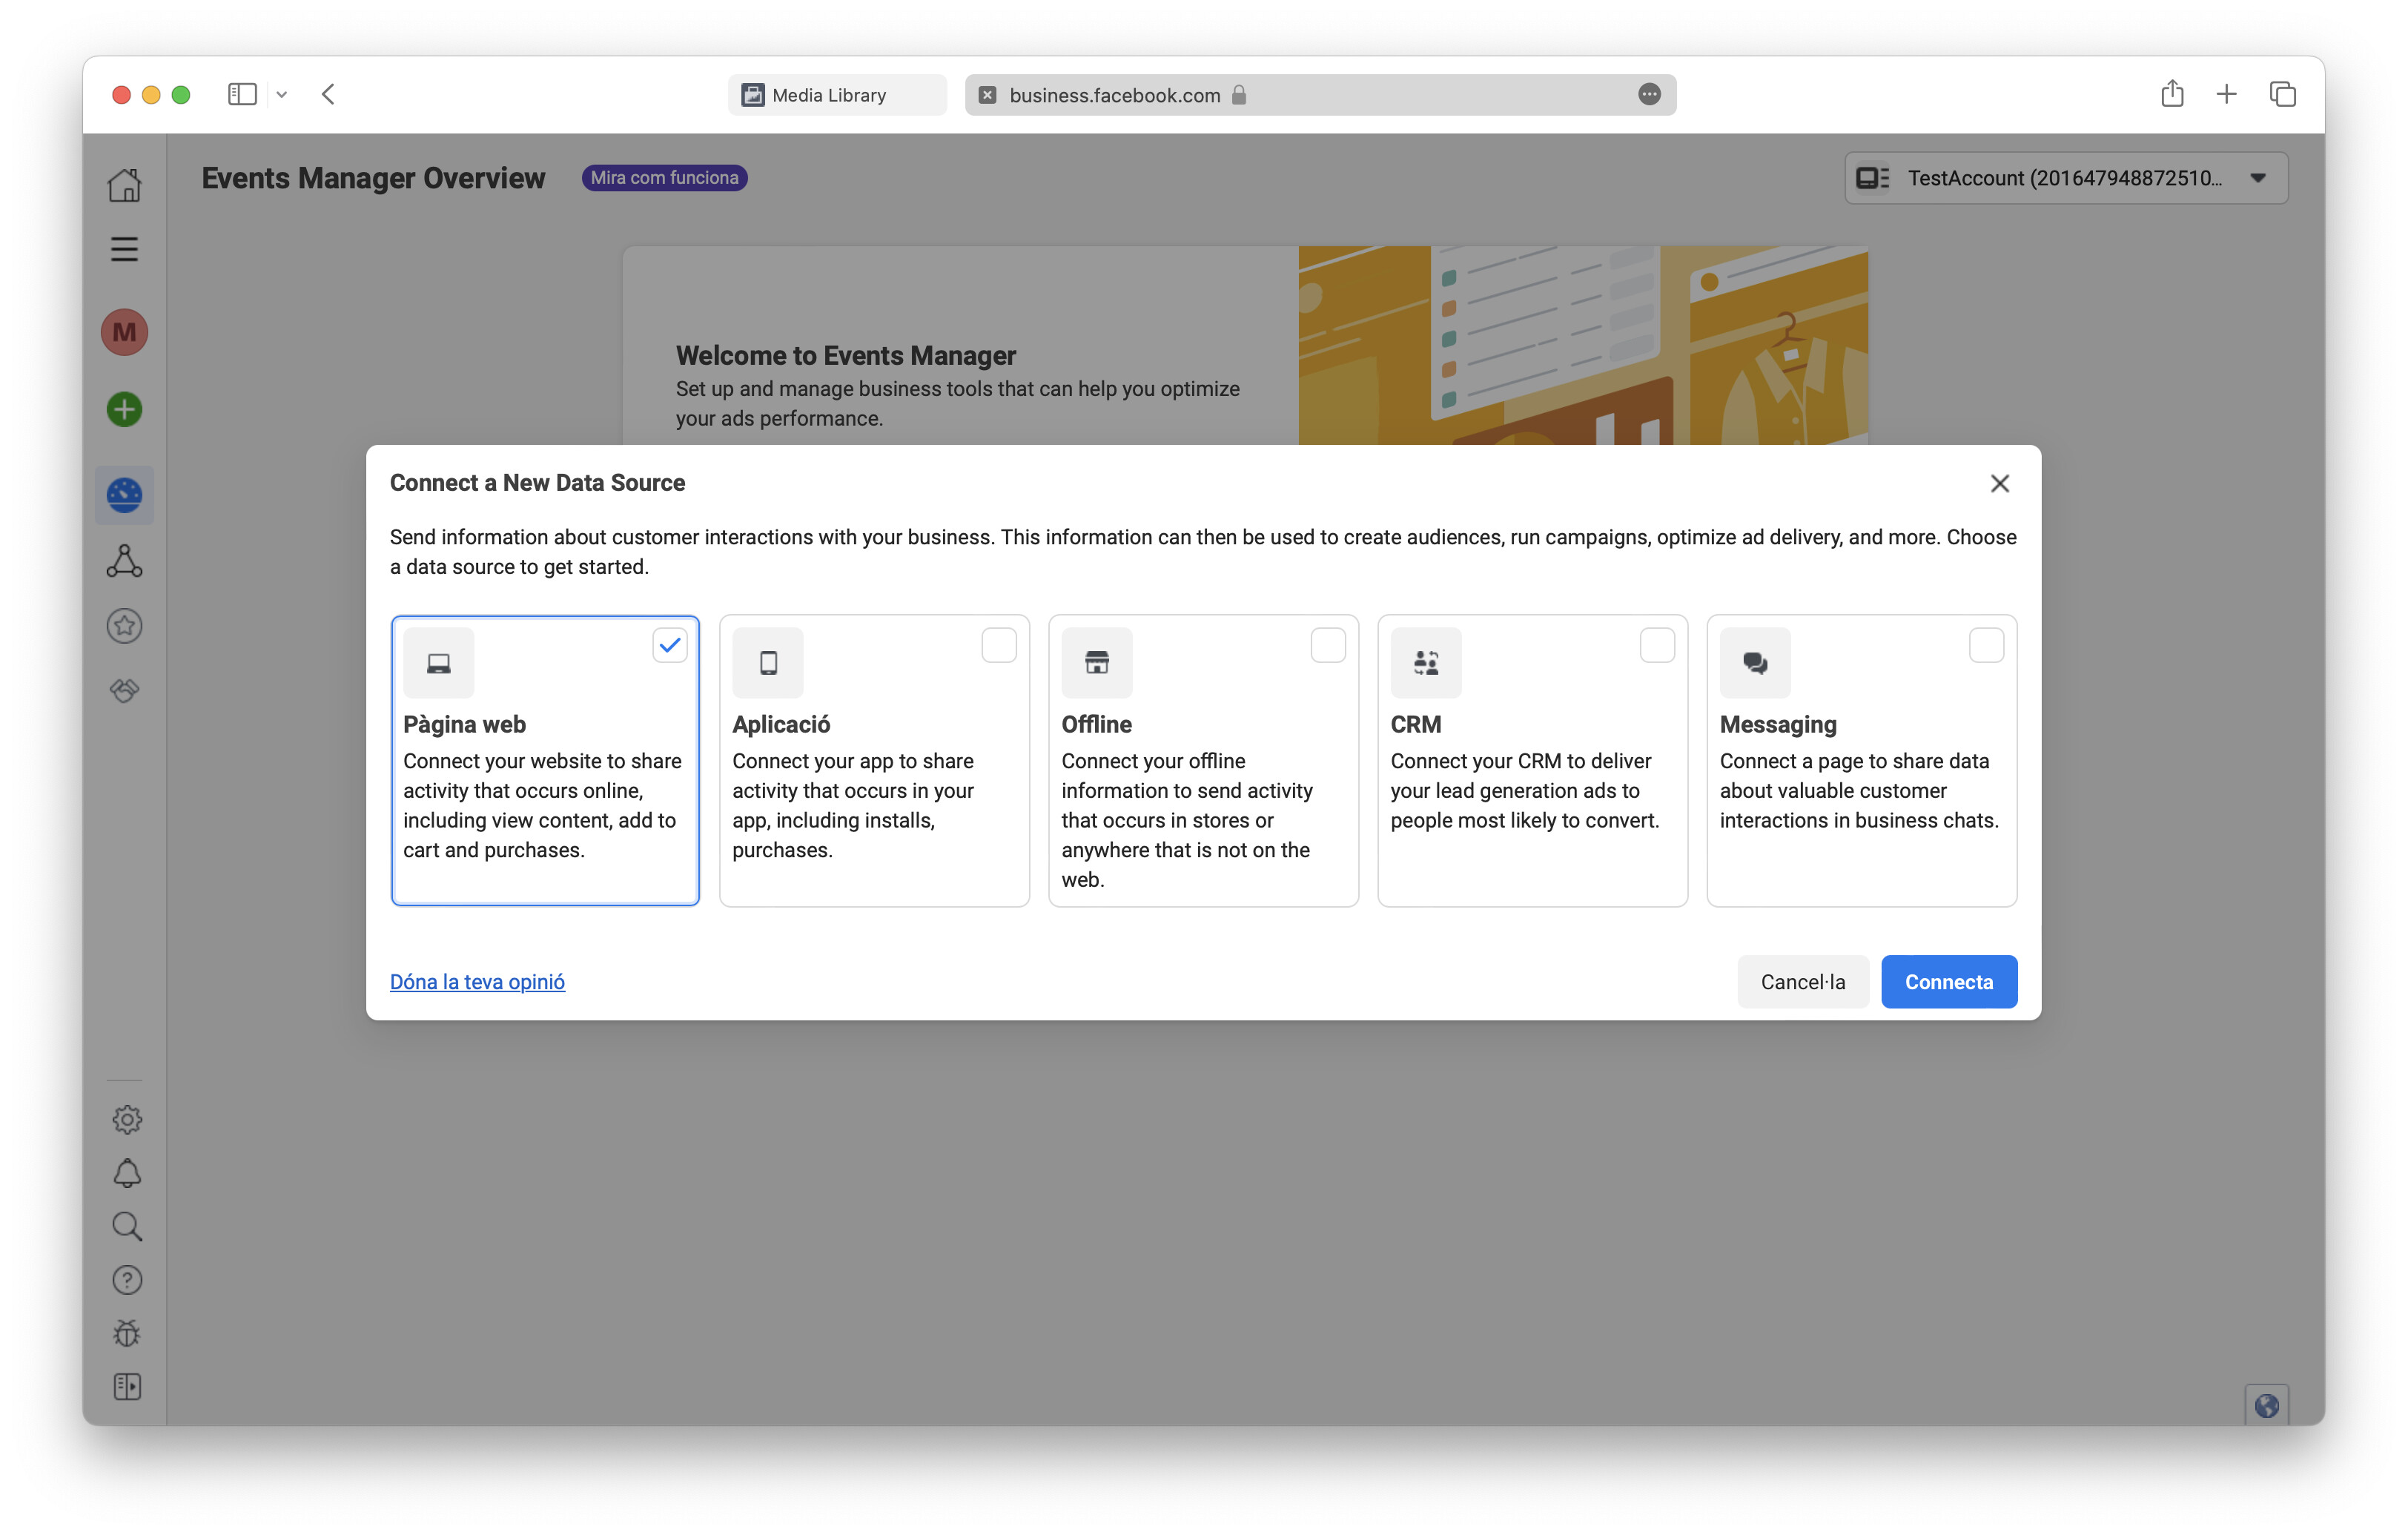
- Navigate to Events Manager and click on the + sign in the sidebar
Connect Data Sources. Select Webpage and continue.
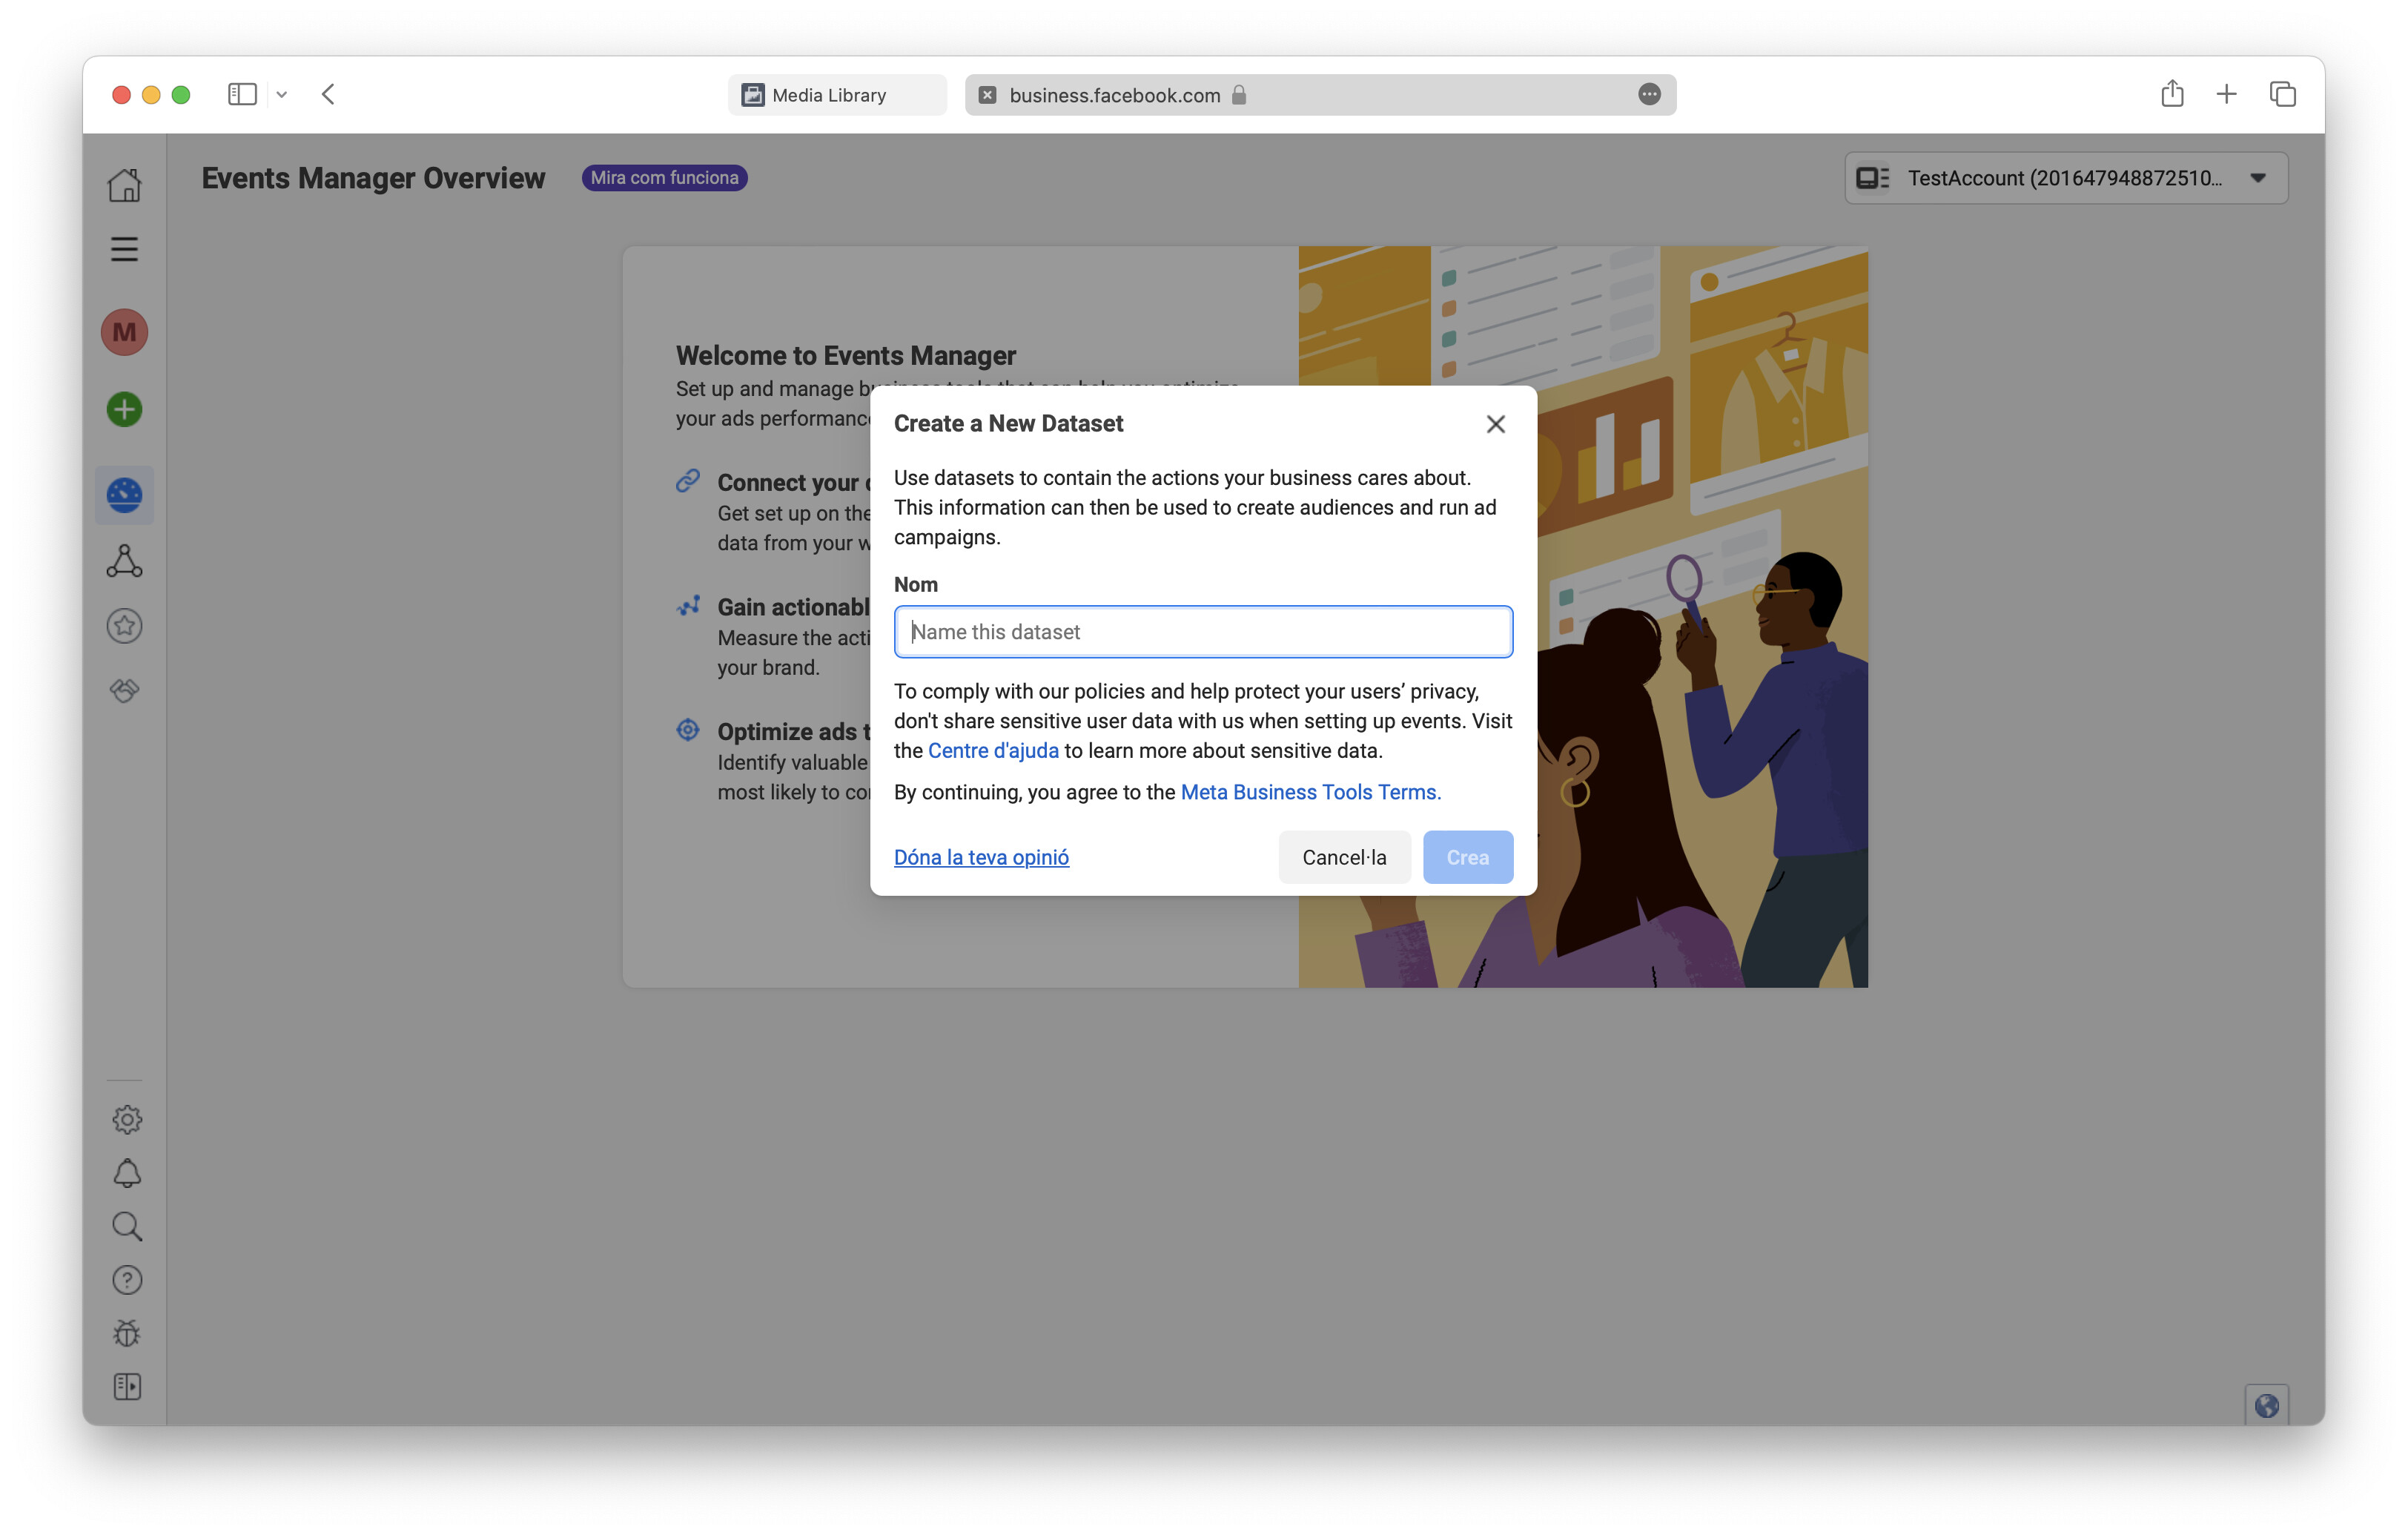
- You will be prompted to provide a name for your new Dataset (Pixel name).
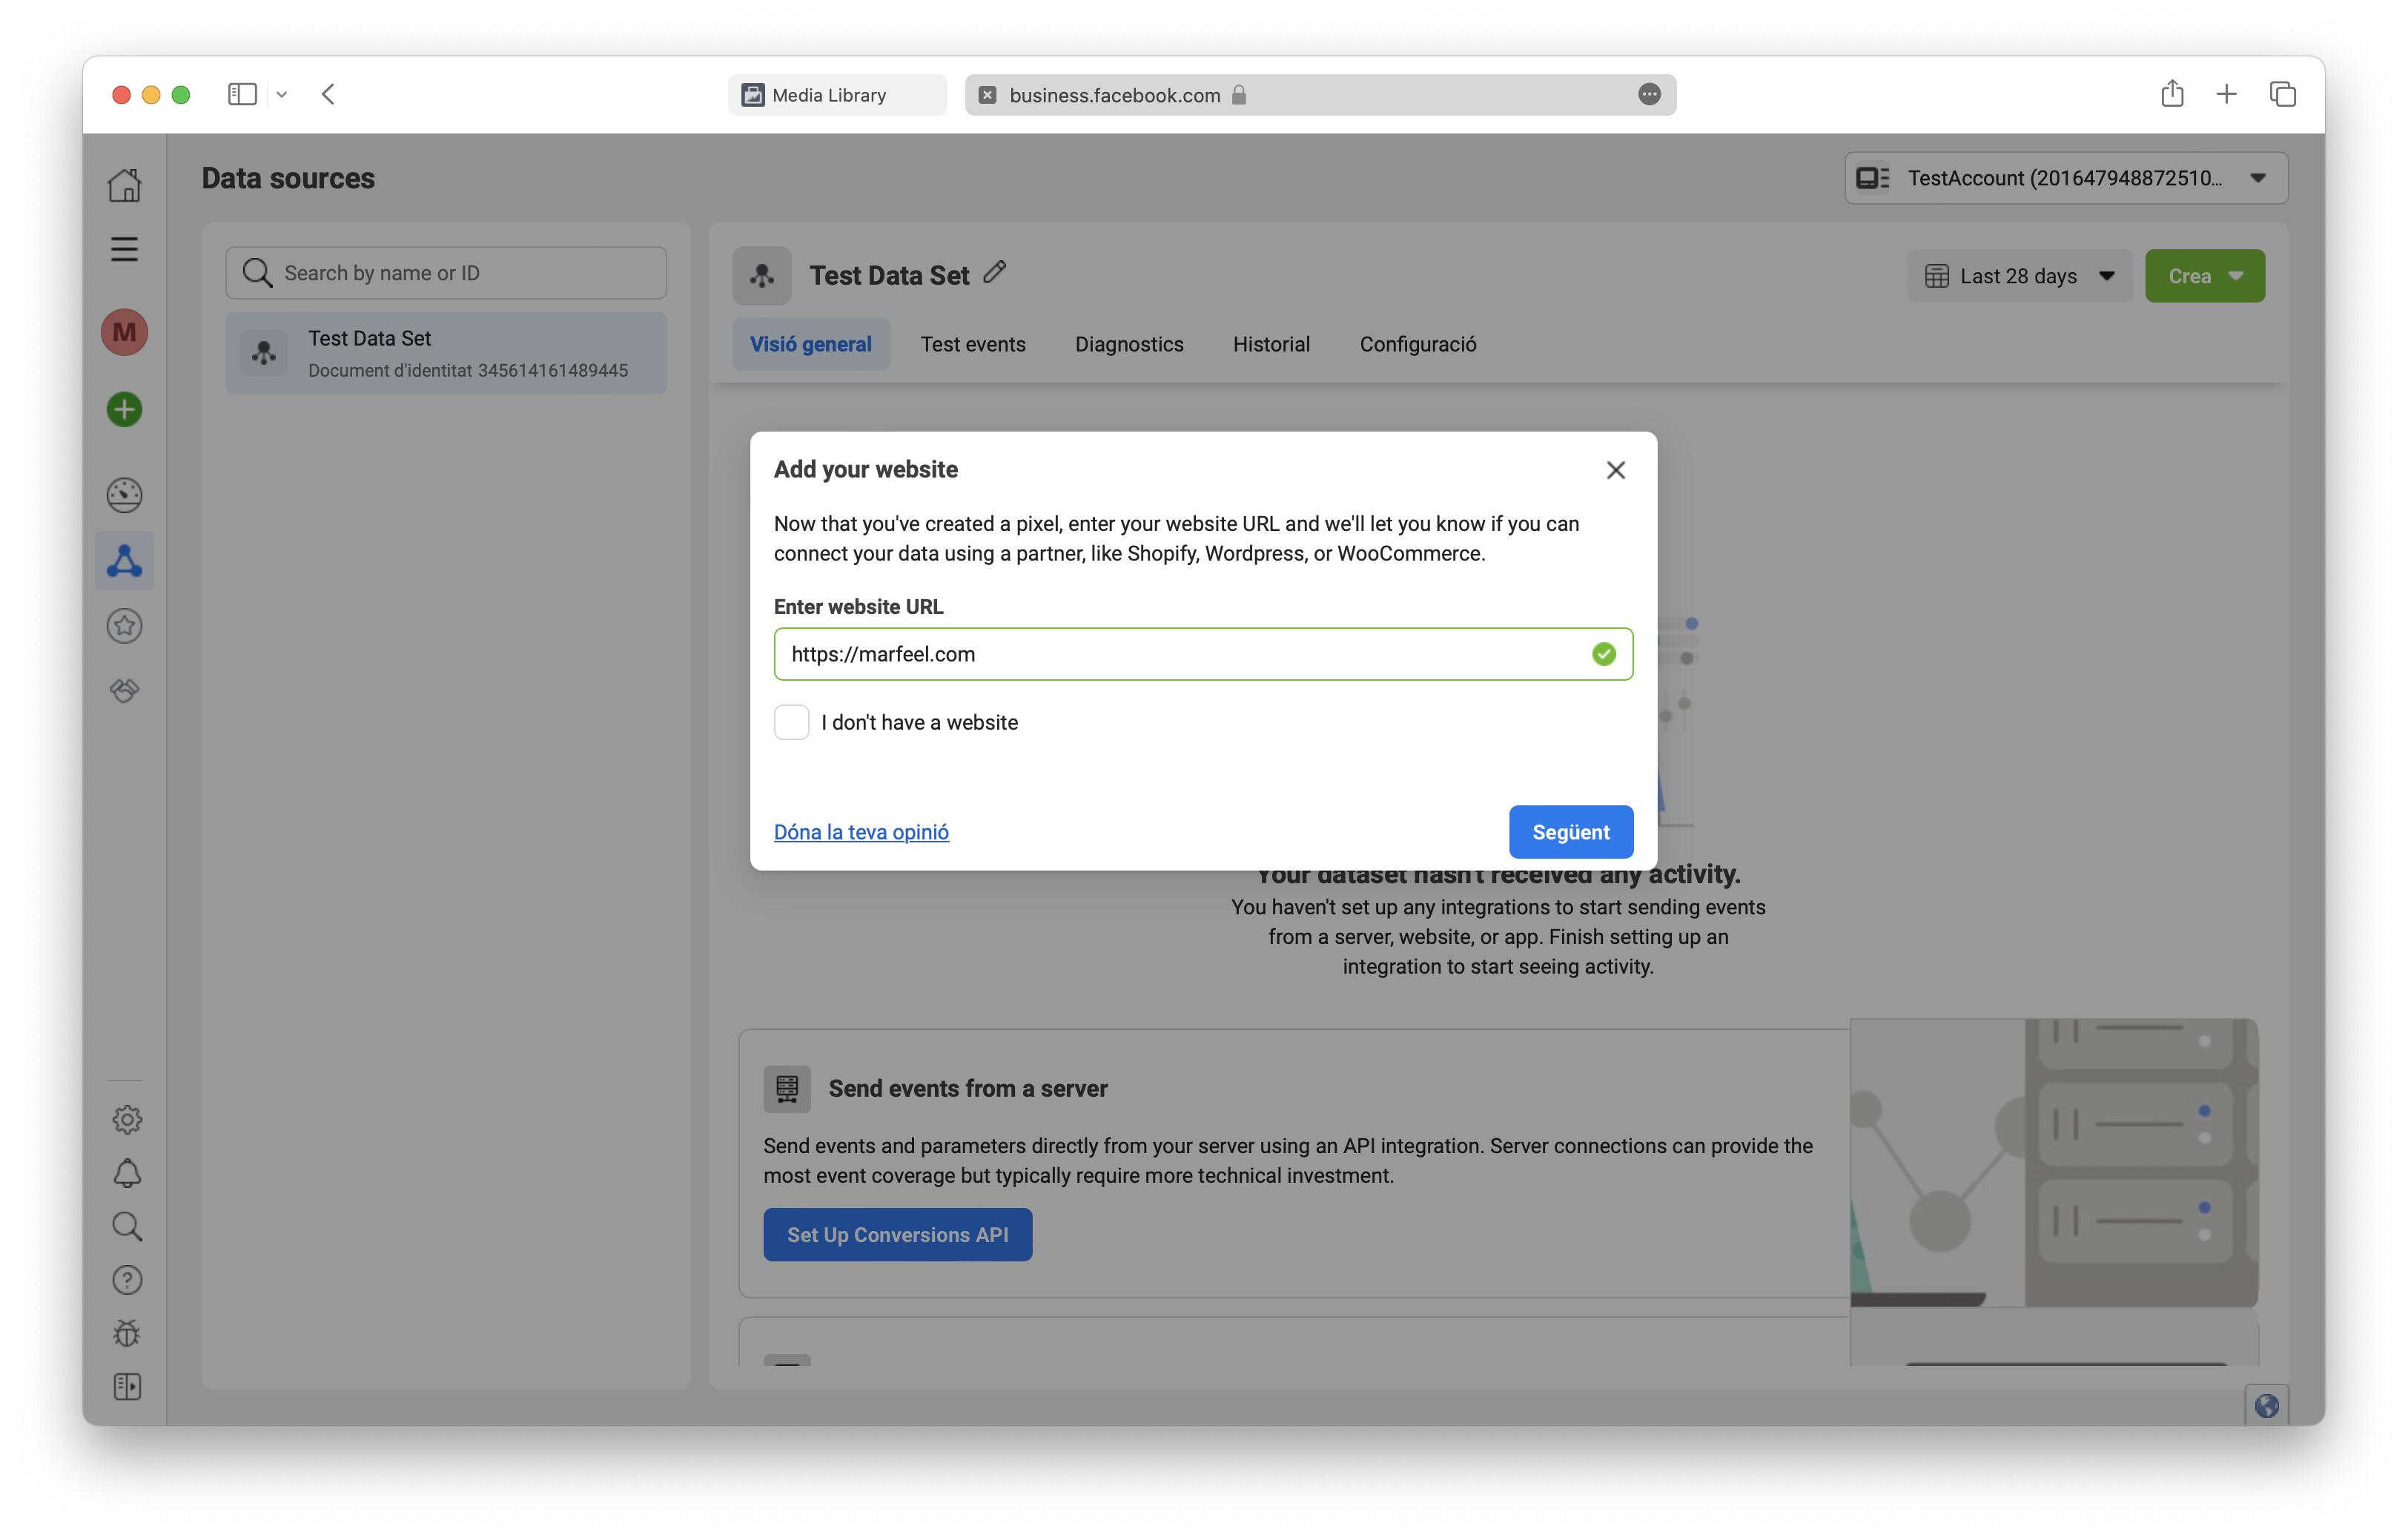
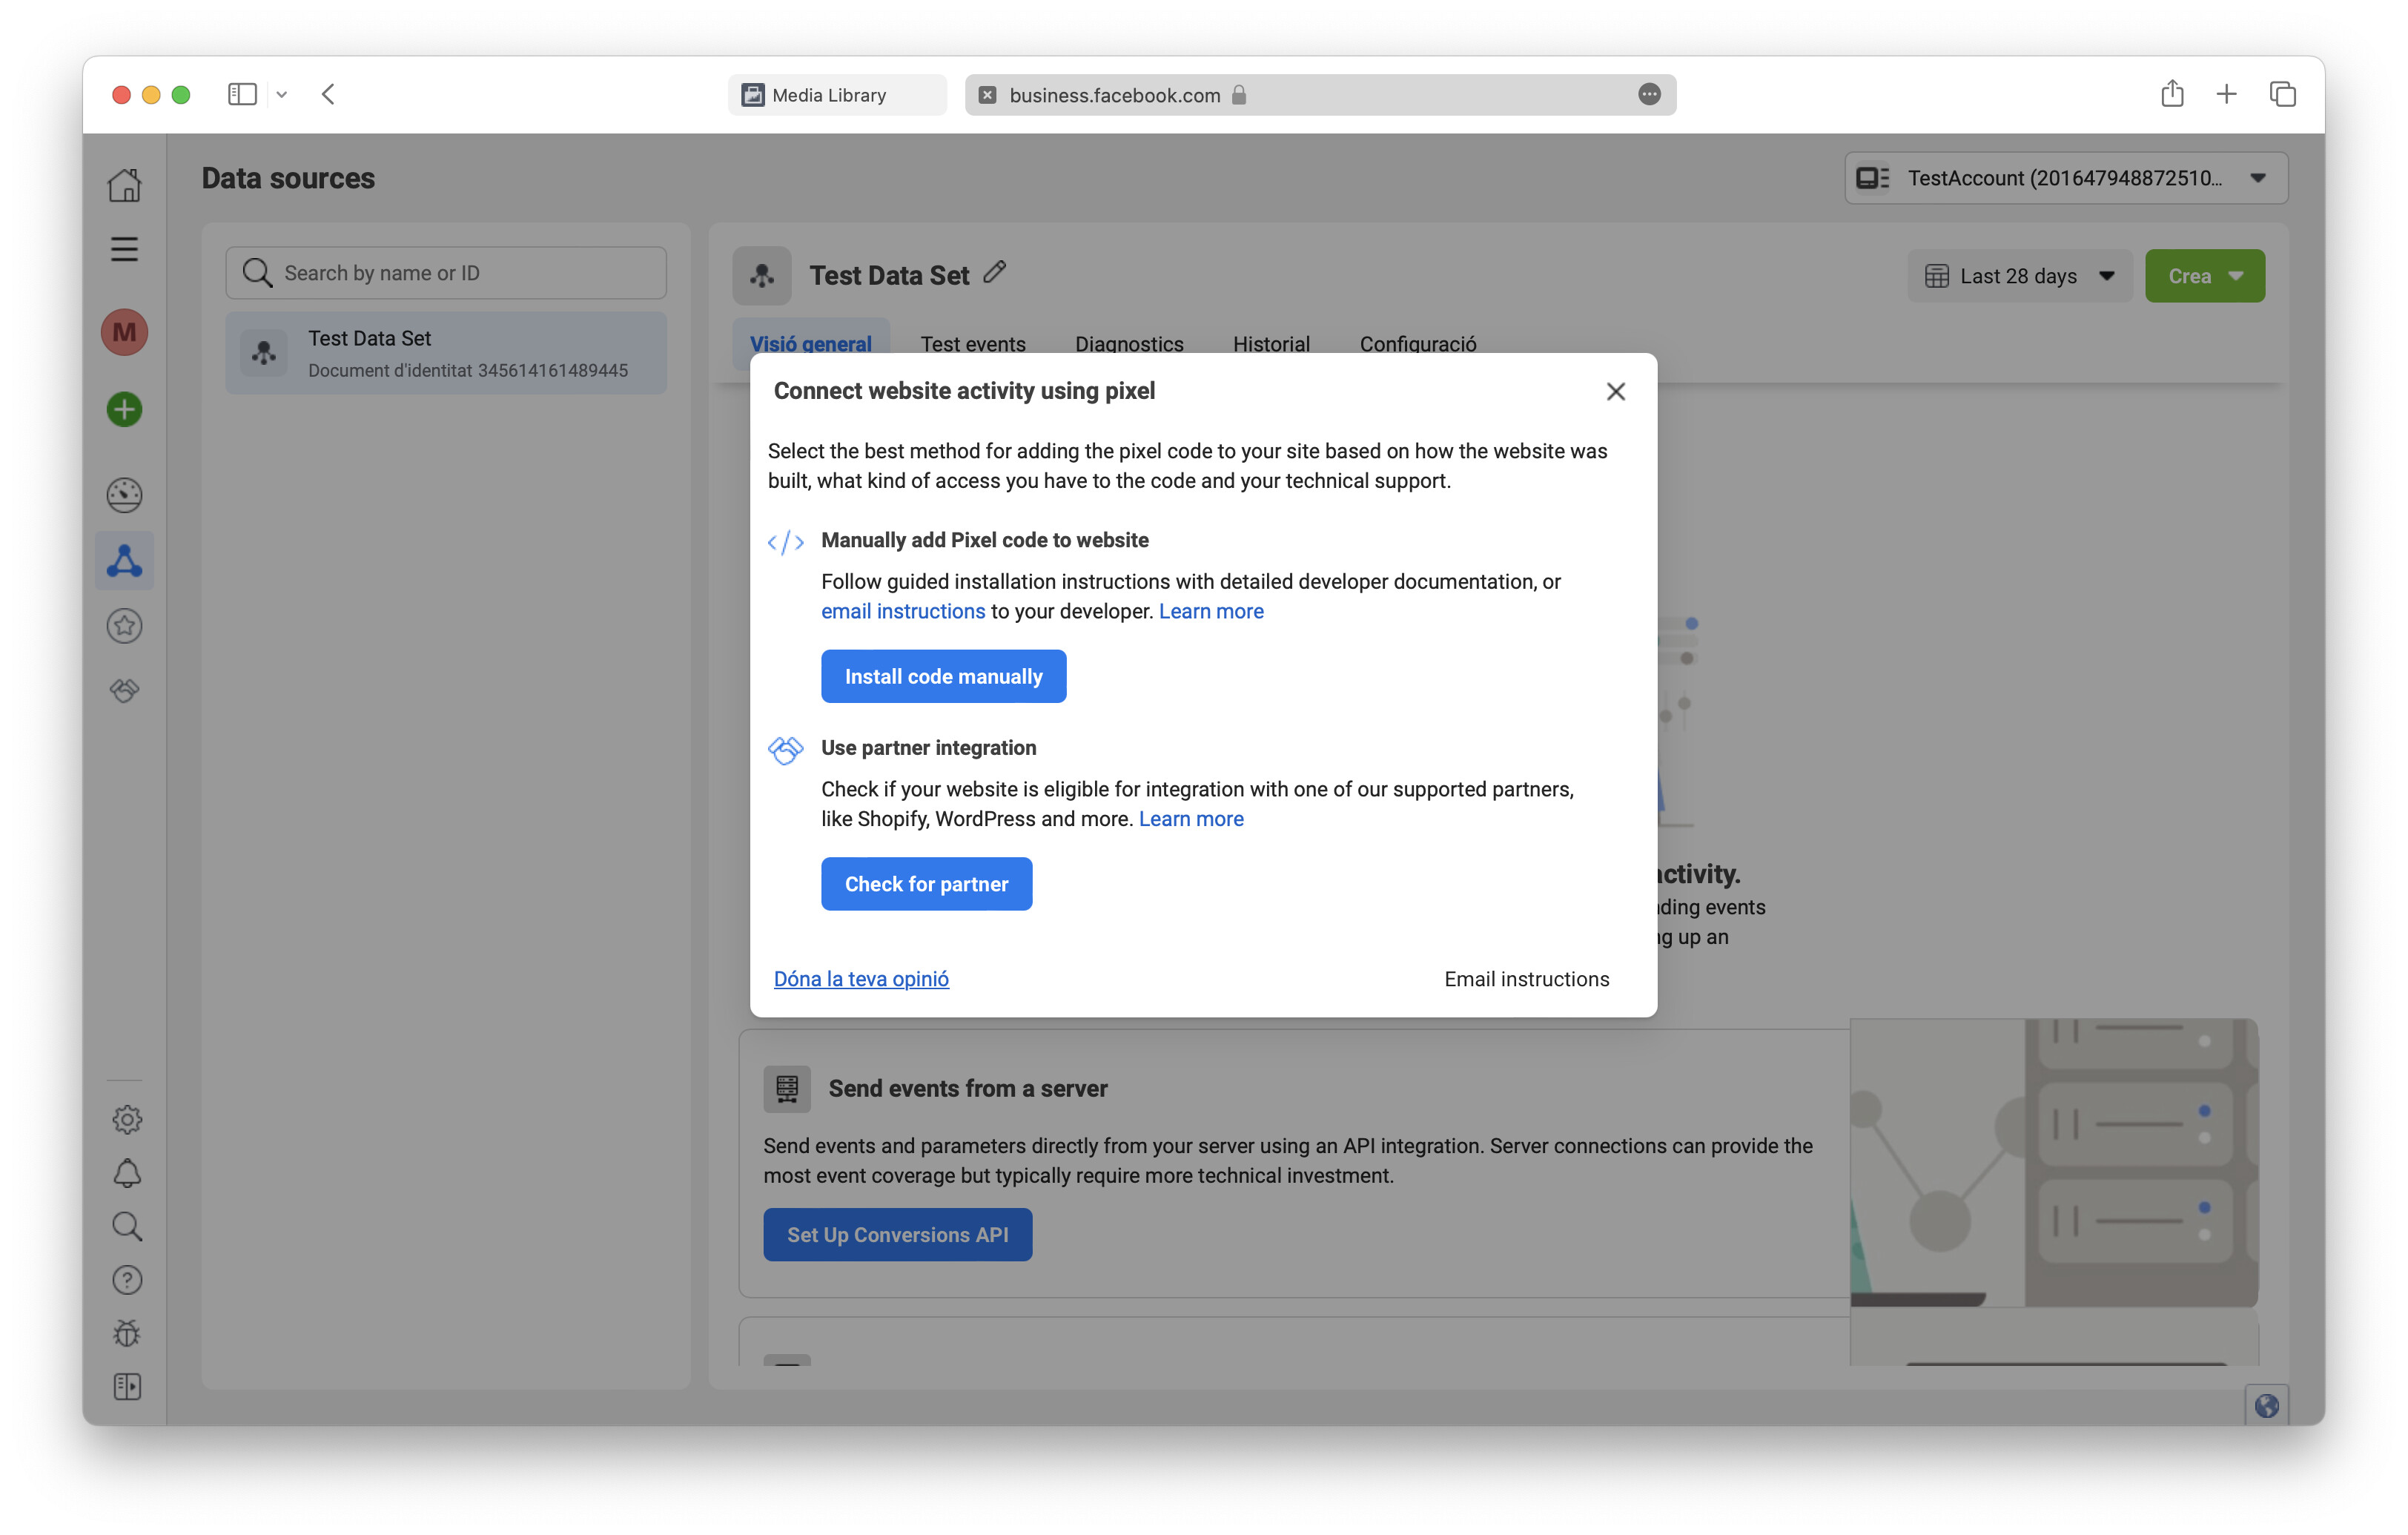
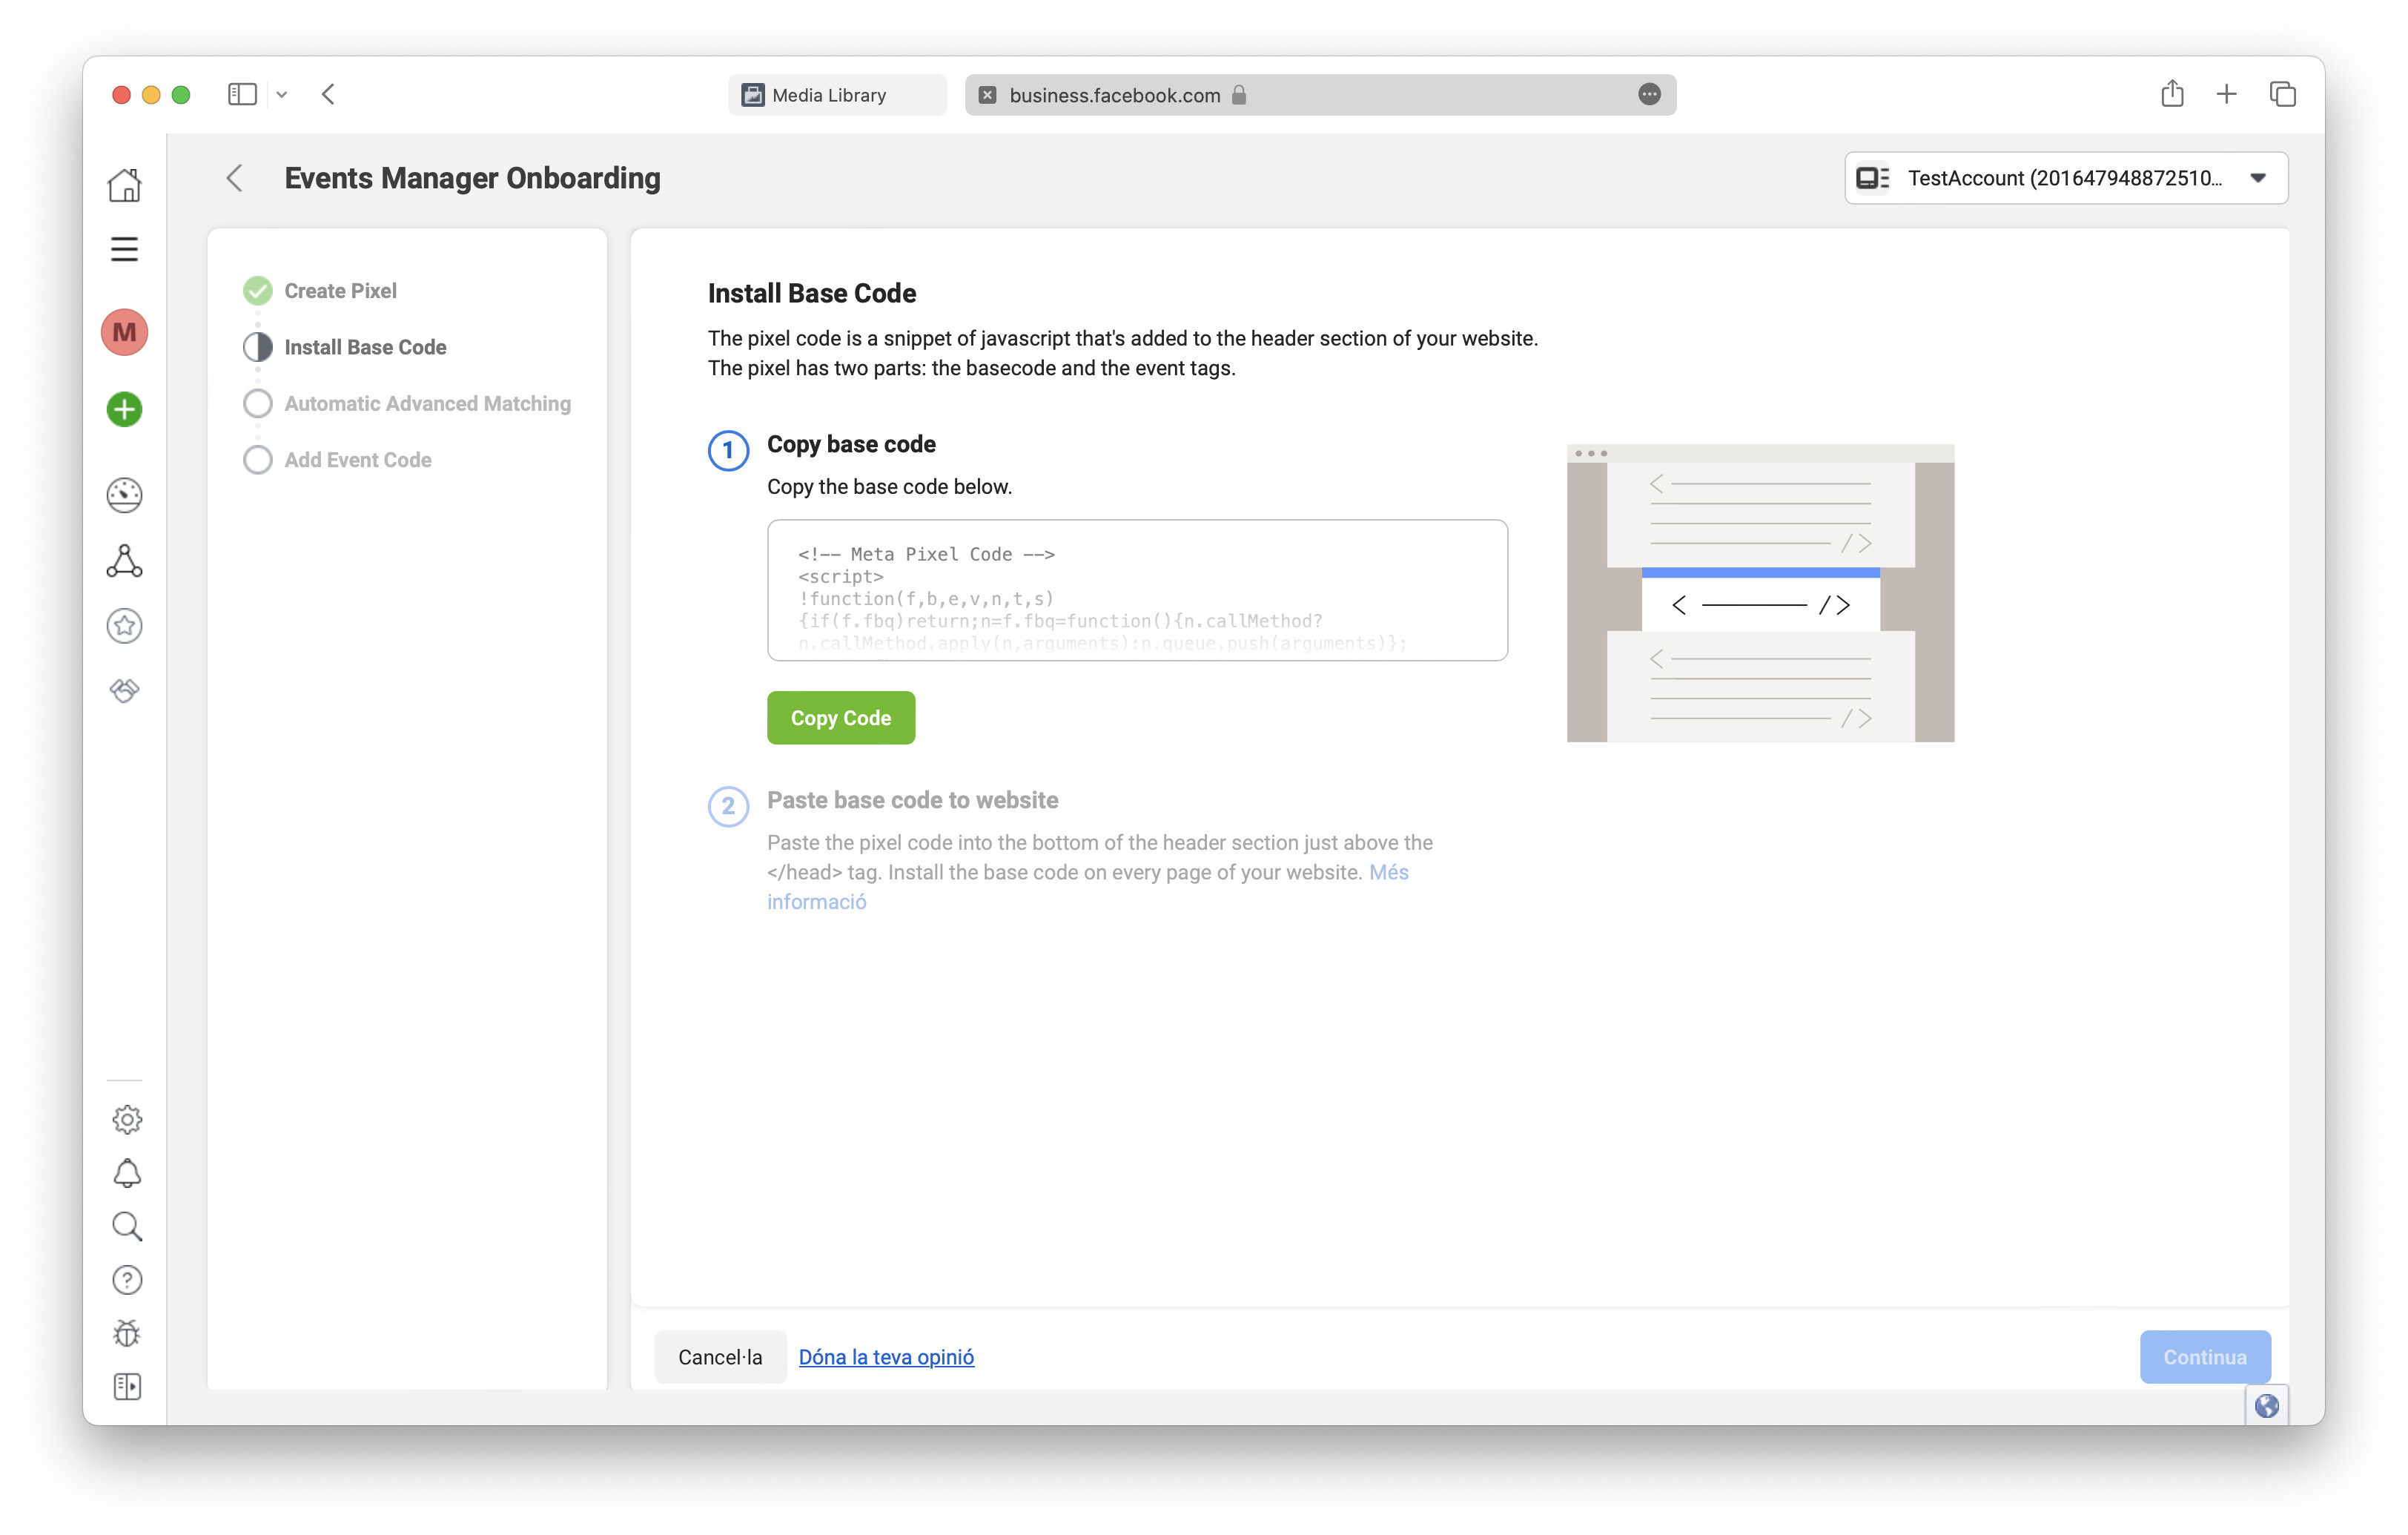
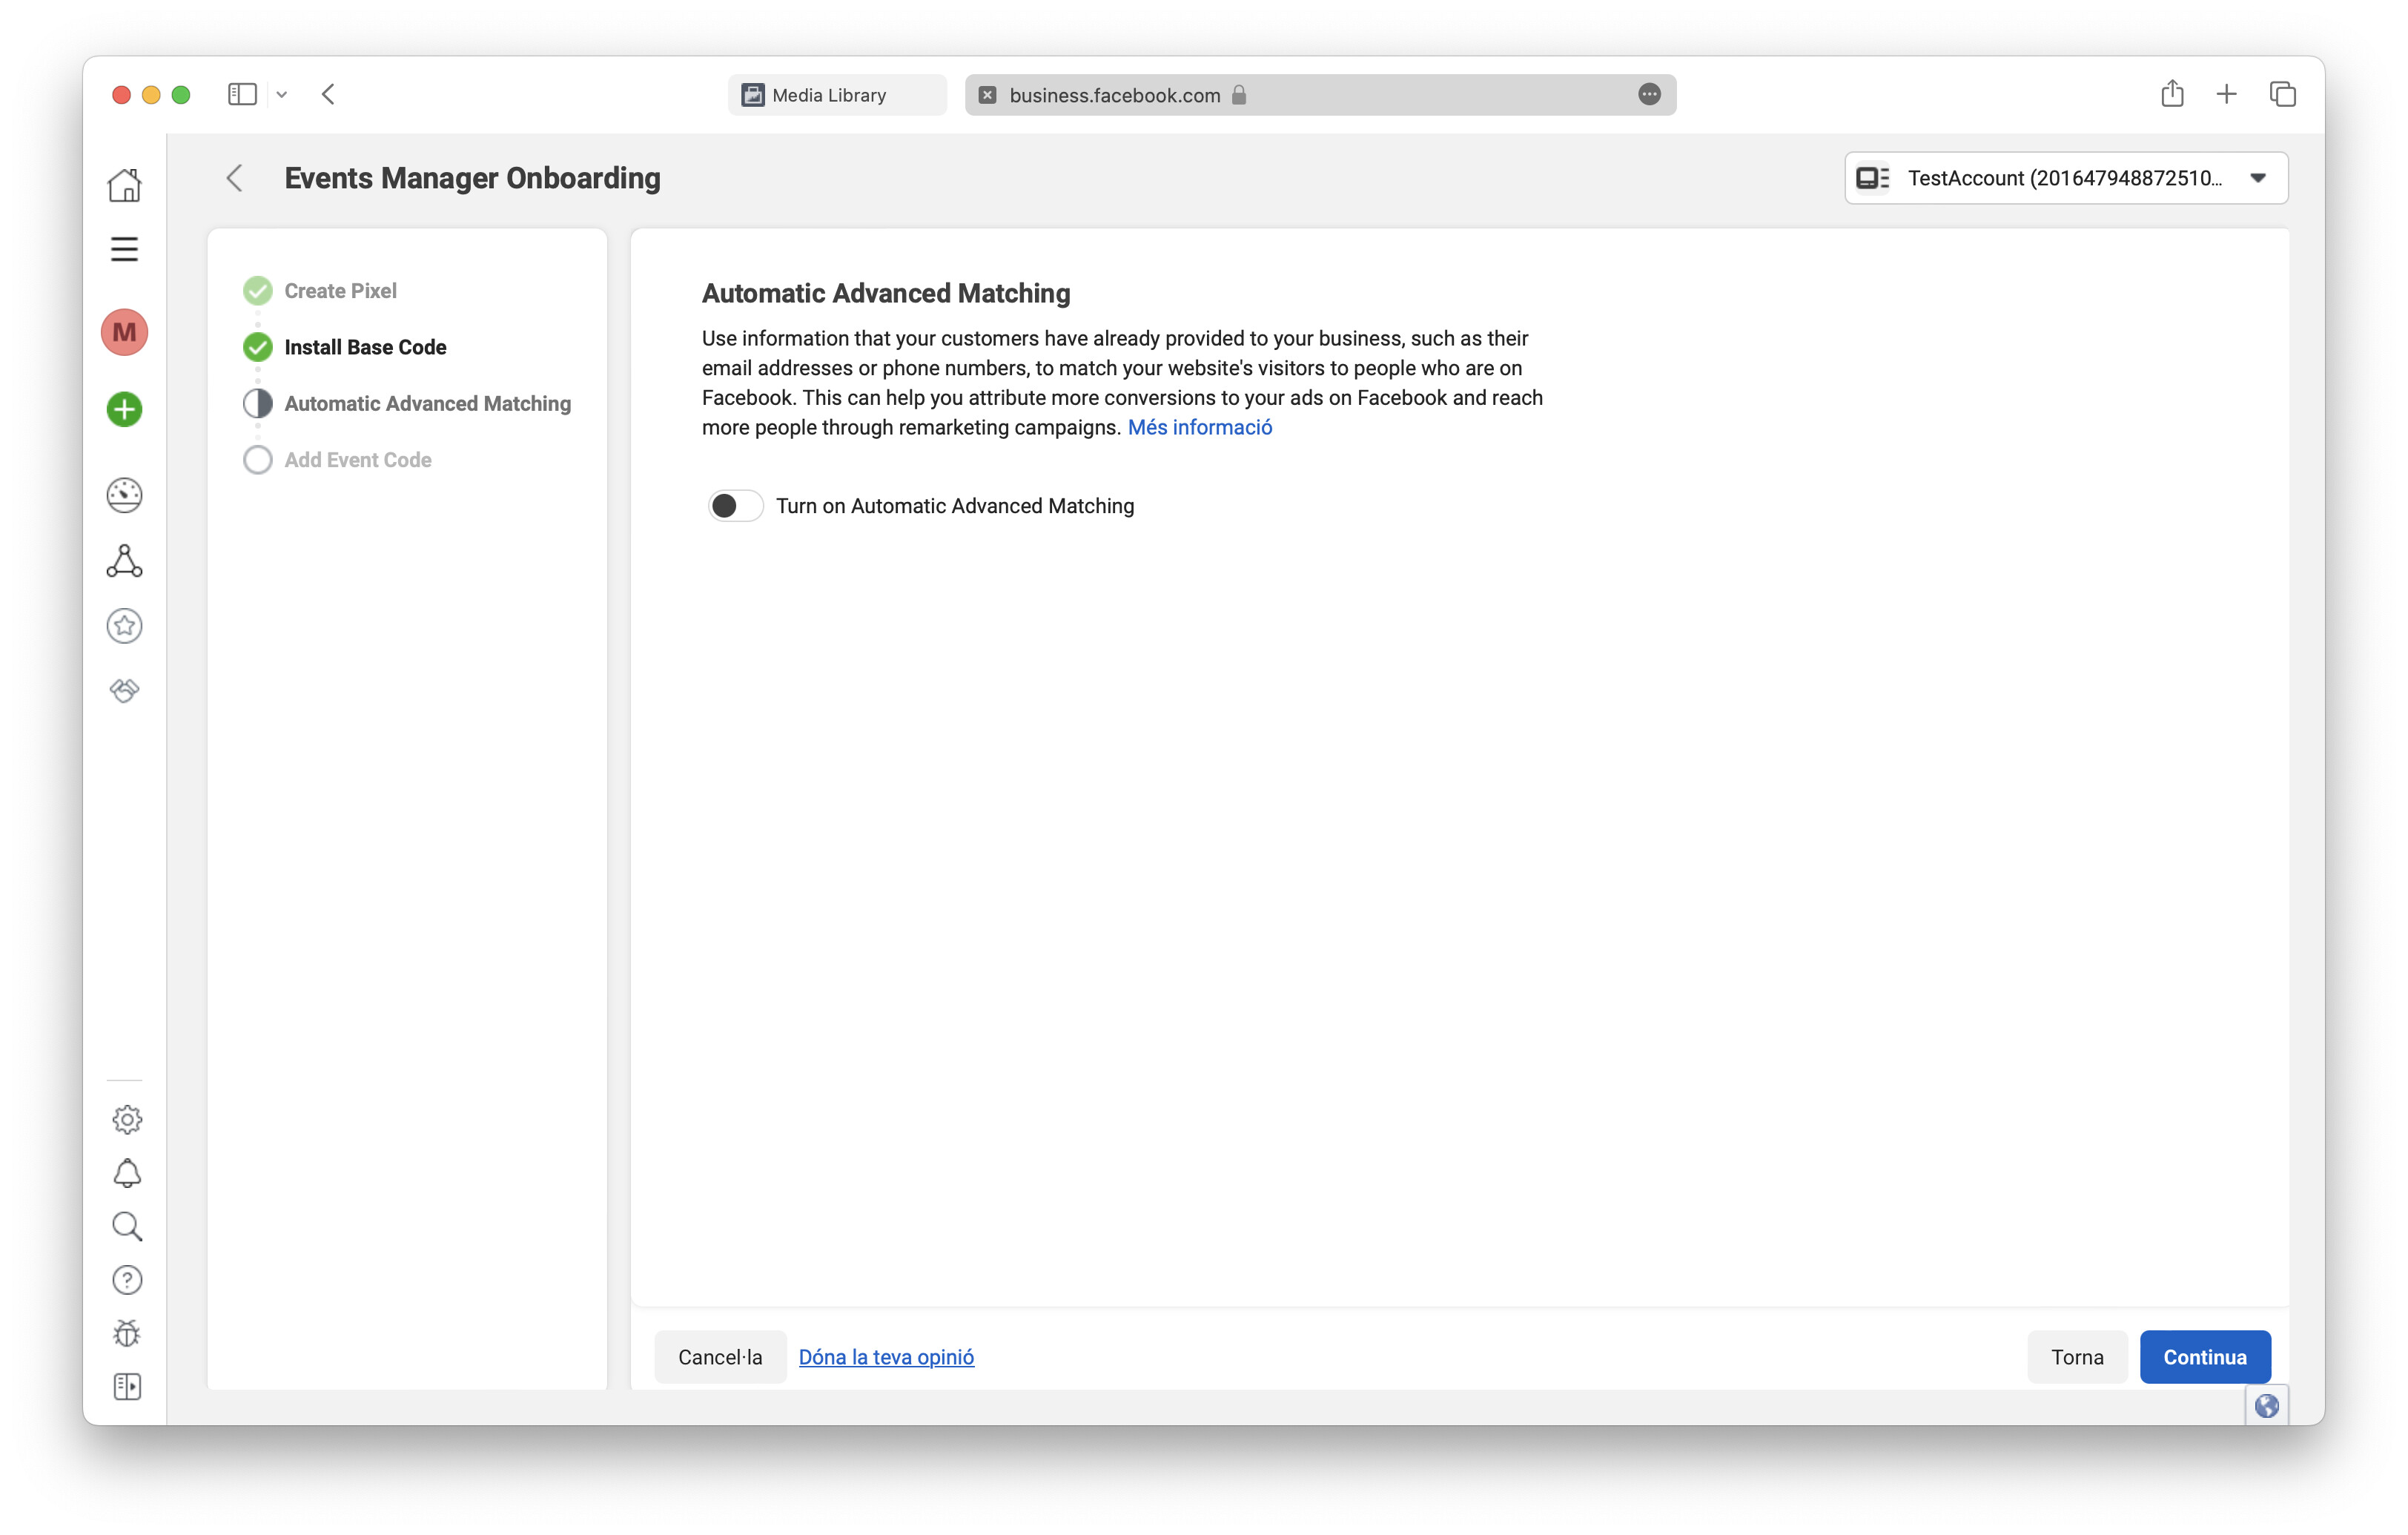
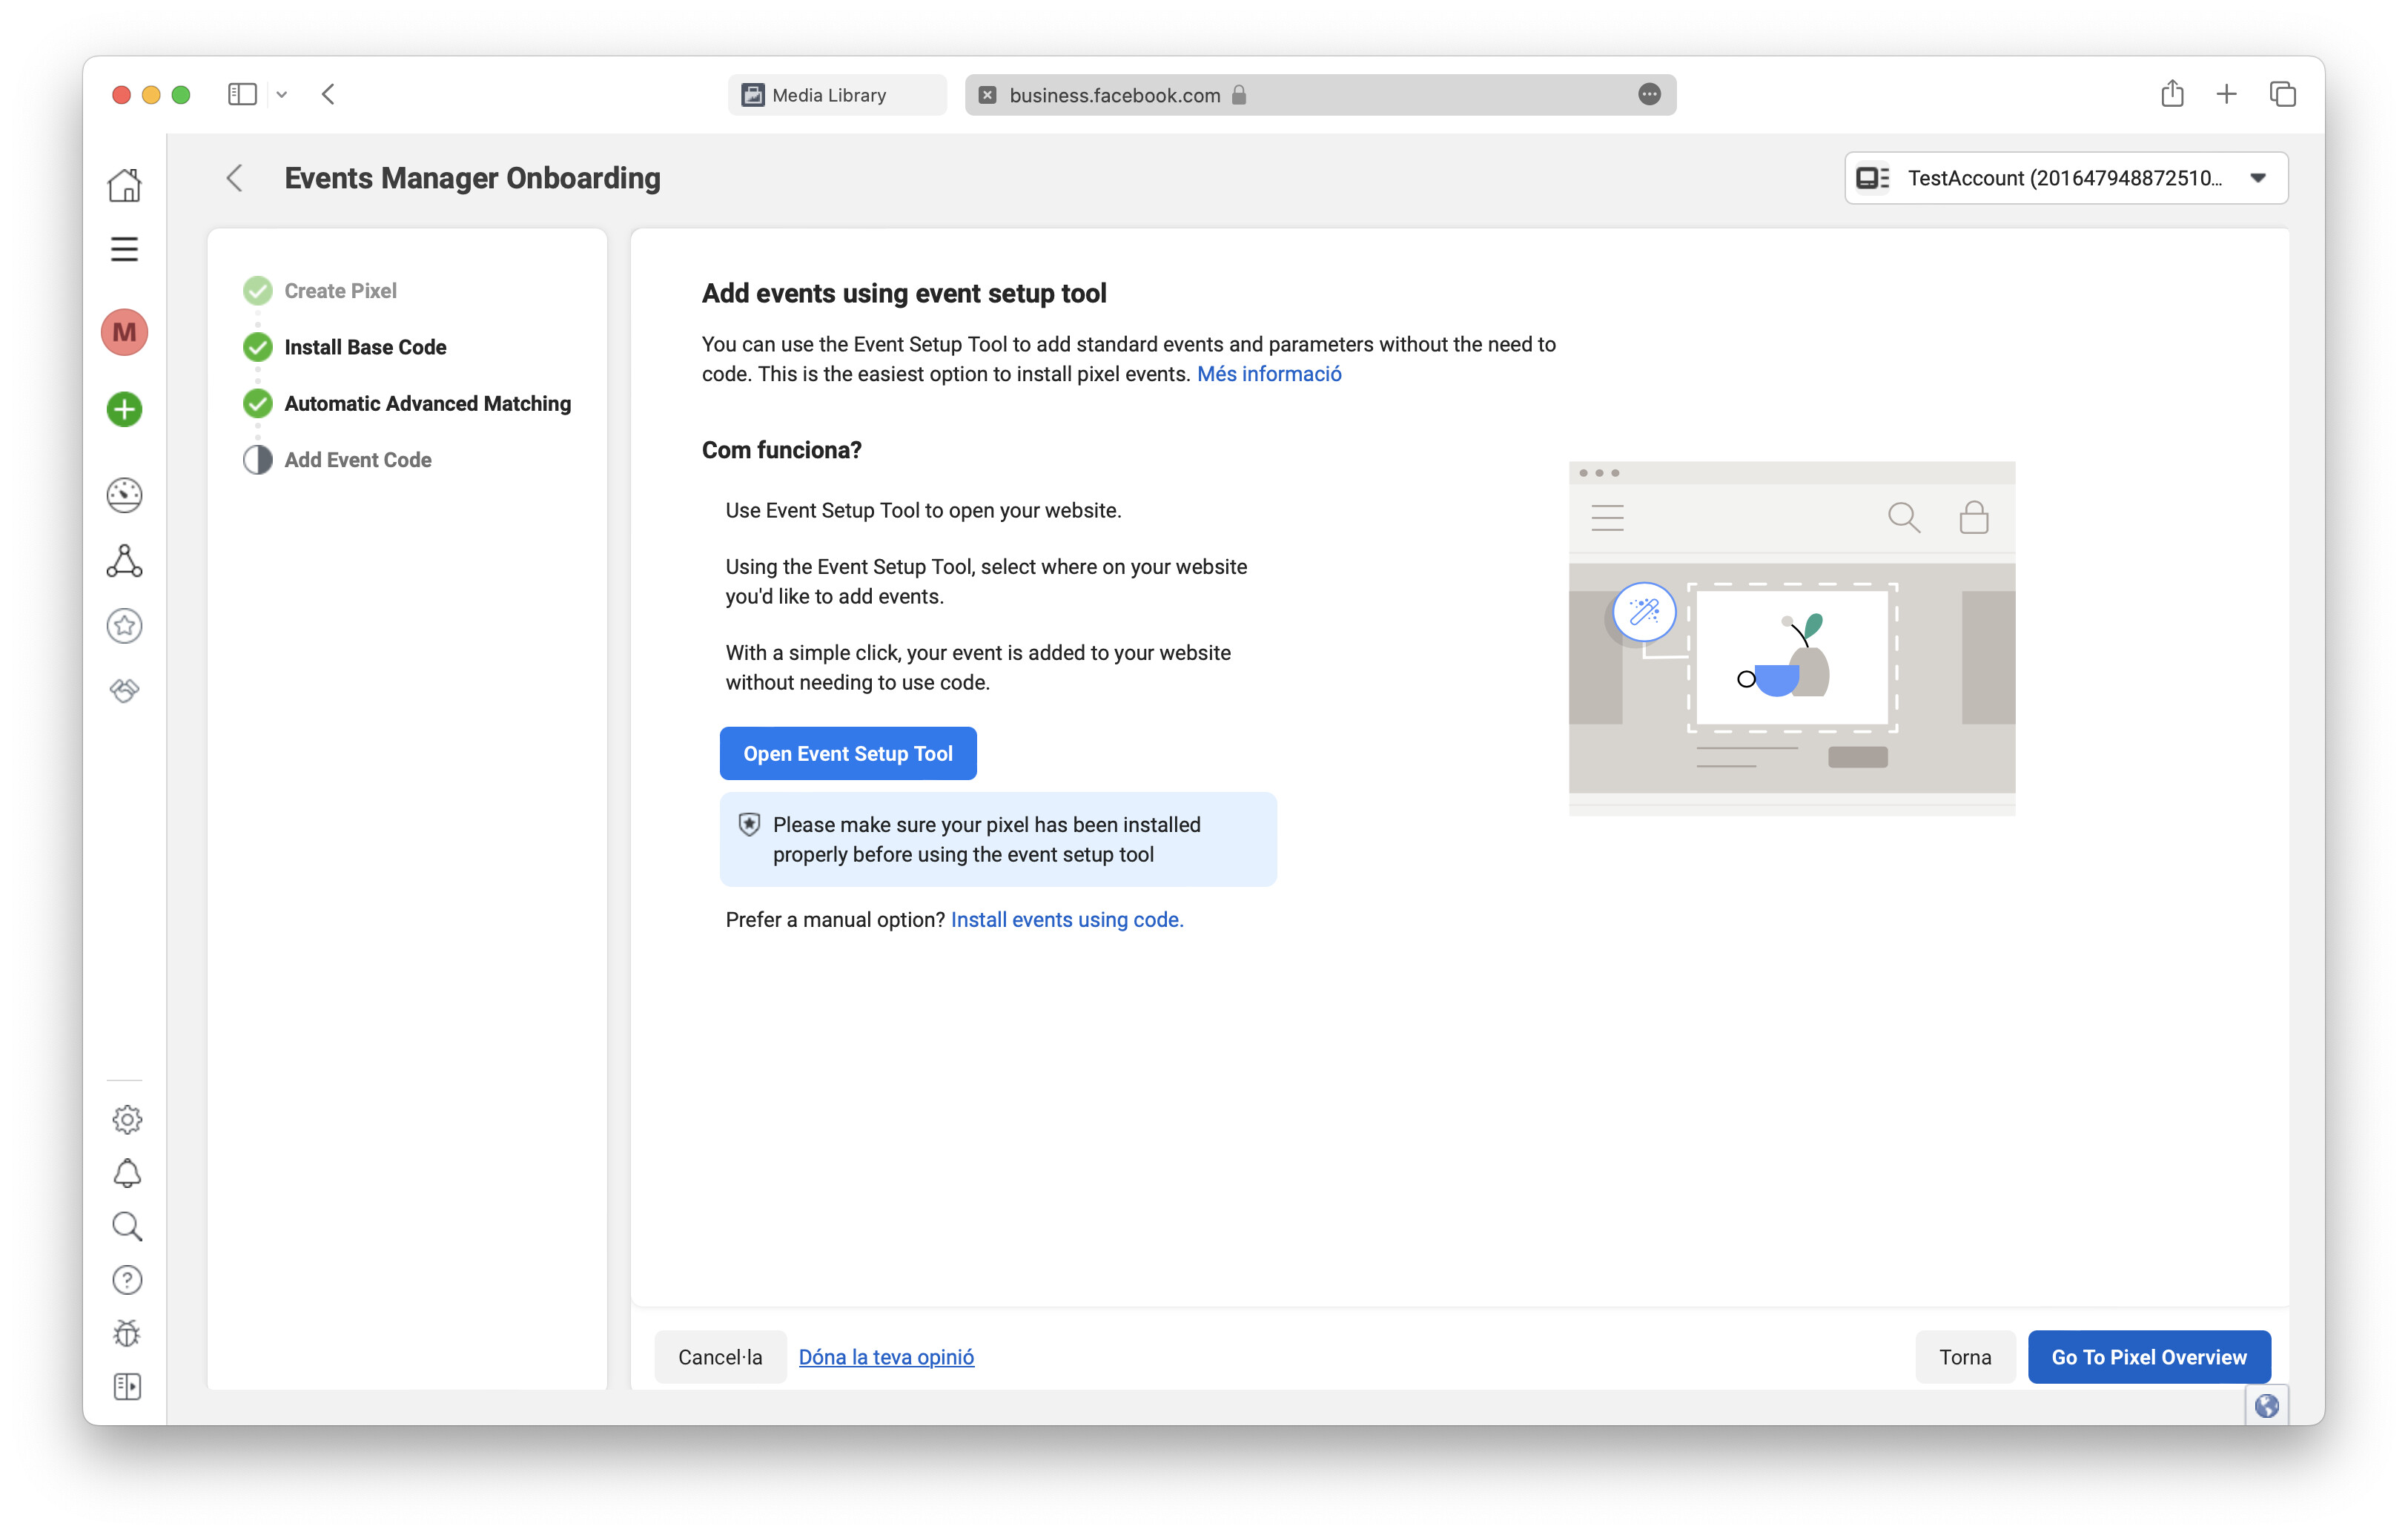
- Rest of steps are only a walkthrough for installing the code in your website. If you are only going to send events to this pixel using Marfeel’s Meta Pixel experience, you can skip through them:
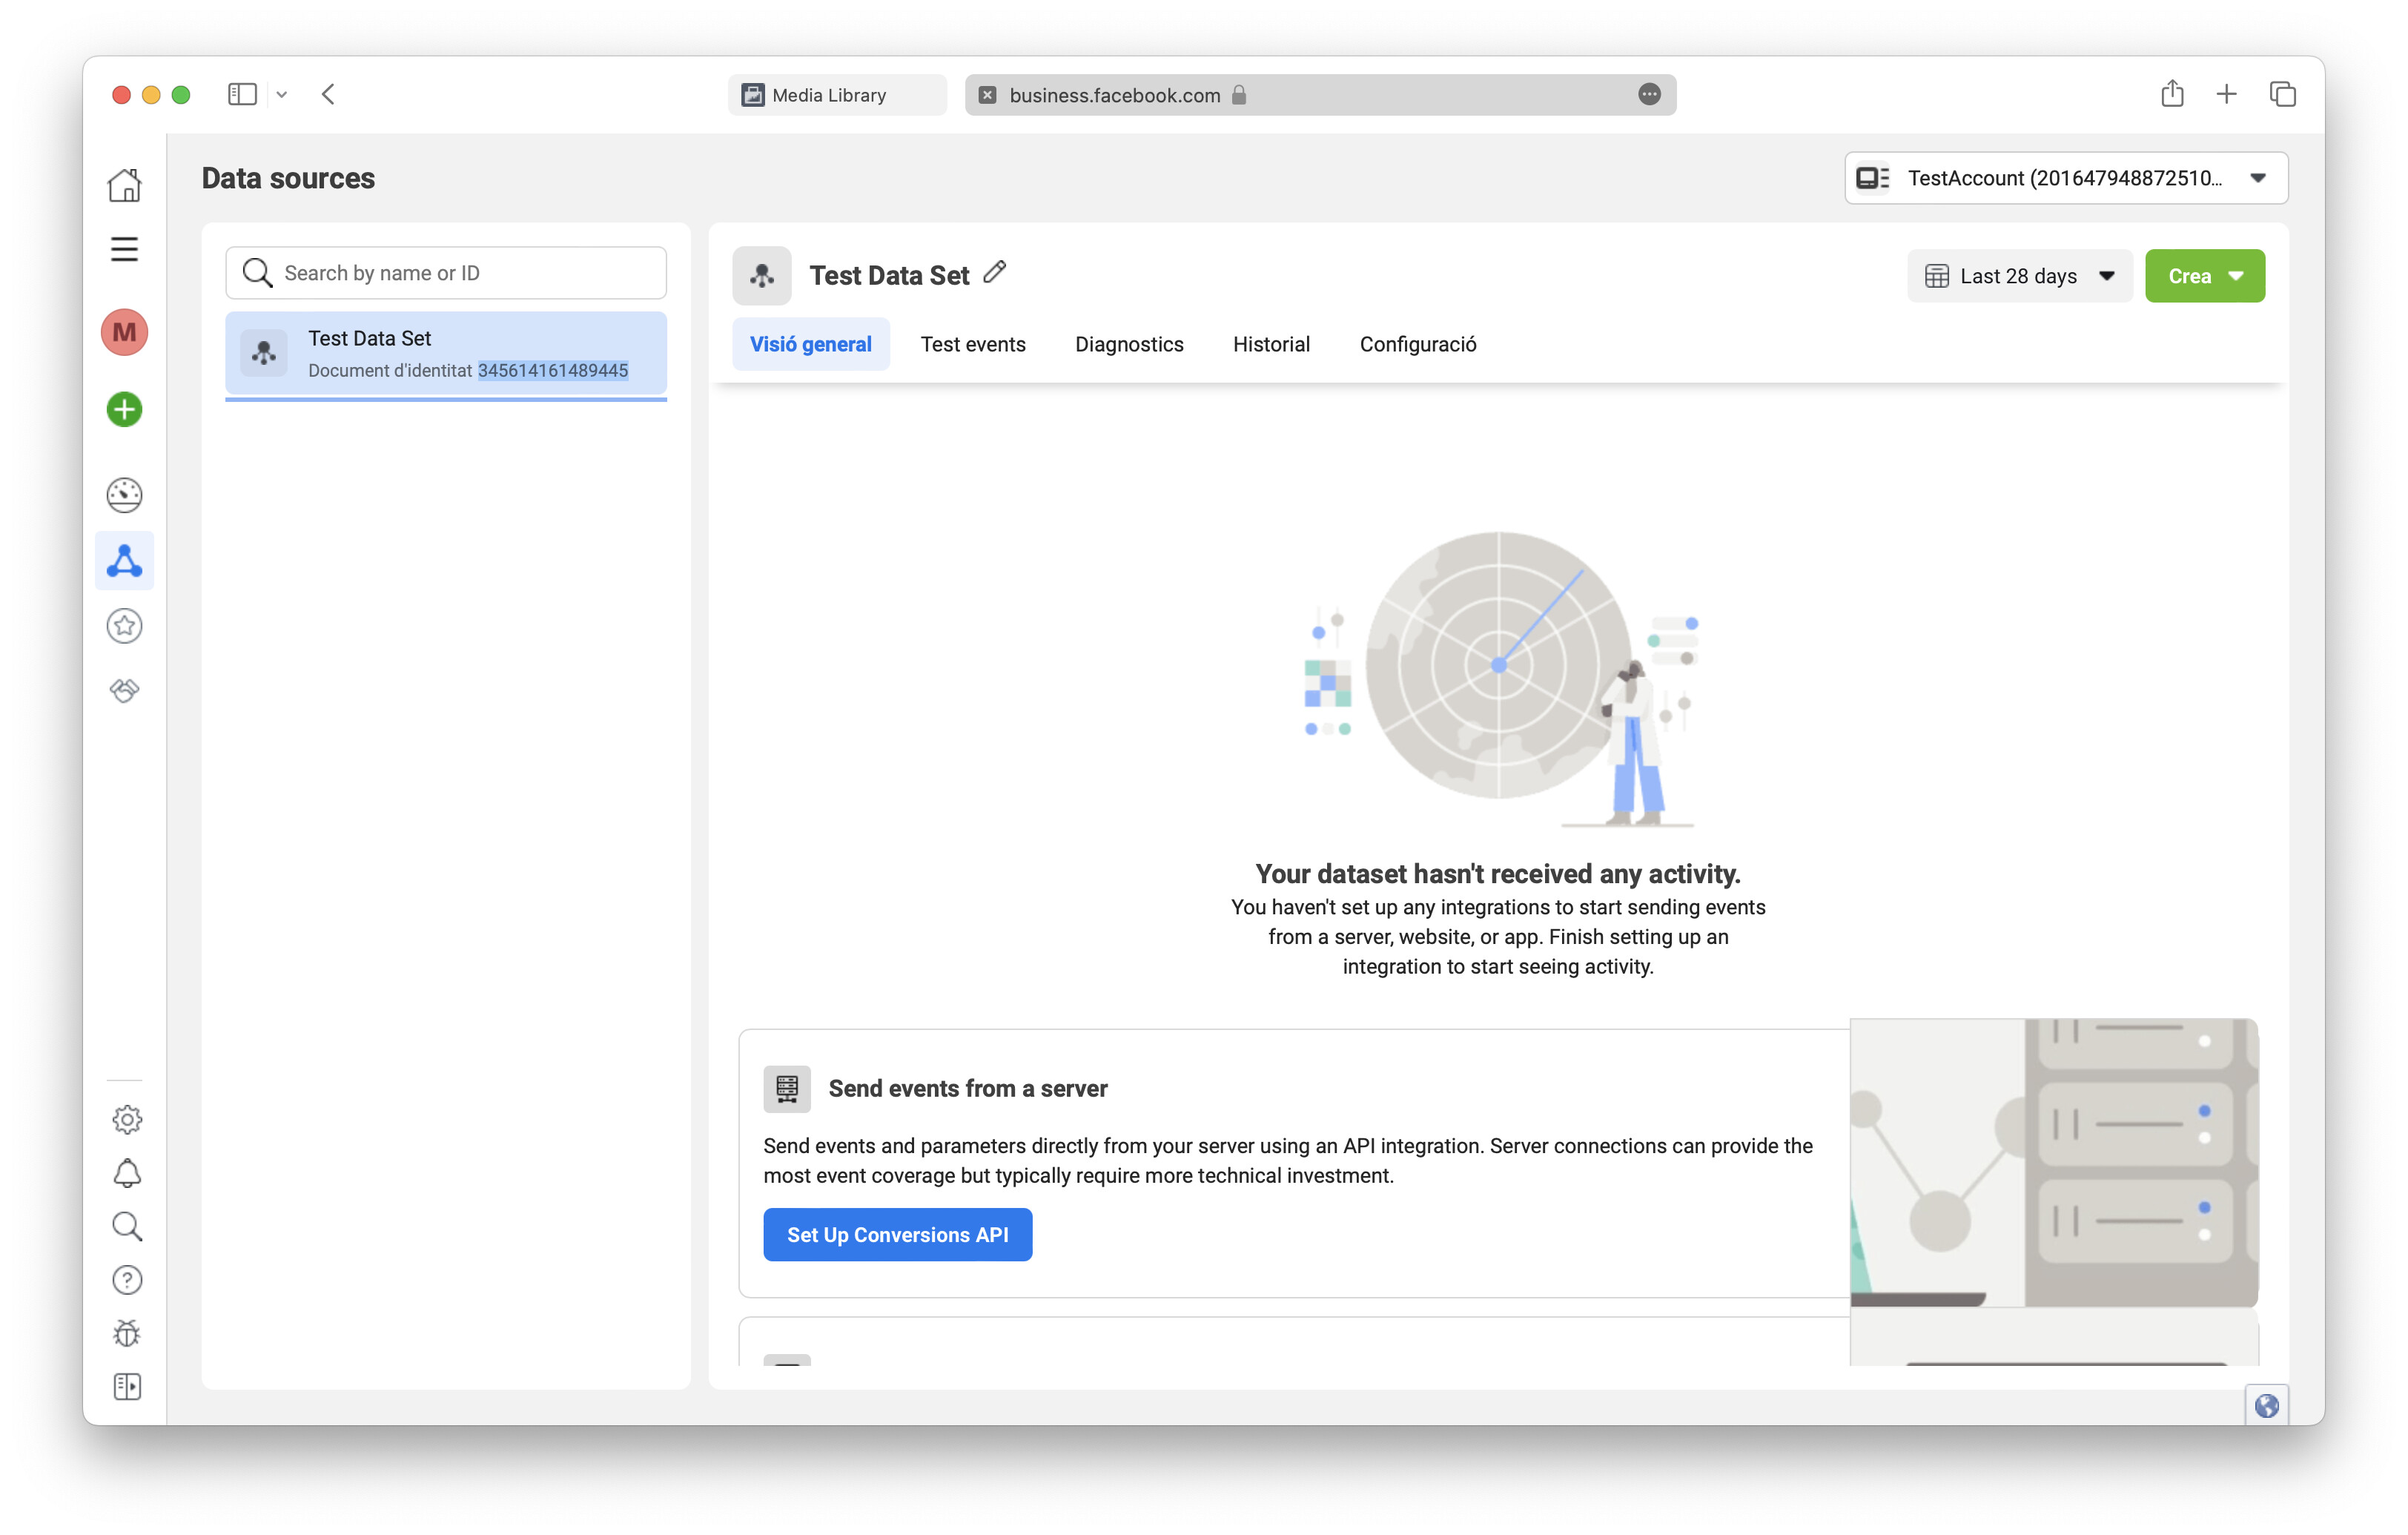
- Once finished, navigate to
Data Sources(triangle icon) in the sidebar. You can copy your new Pixel’s ID from left column.