In this article we will explain how to get started with Marfeel Amplify so you can begin managing your content distribution across all your channels directly within Marfeel, starting with the most important part, creating and scheduling posts on your feeds.
Master Amplify, step by step
The video below is an excerpt from the Amplify Fundamentals course.
![]() Discover more learning paths on Marfeel Academy.
Discover more learning paths on Marfeel Academy.
Distributing your first article
Access Amplify
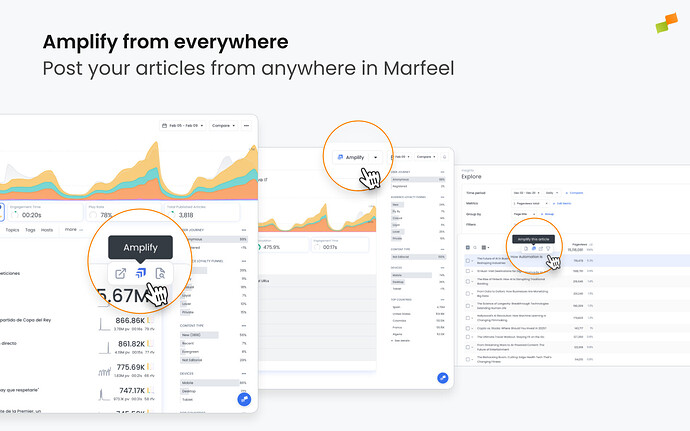
To begin, click the Amplify icon that will appear when you hover over an article or use the Amplify button within article details. The icon appears whenever article-level information is displayed, such as in Compass, reports, dashboards, or your Feeds view. Note that only users with Amplify admin, manager, or editor roles can access Amplify.
Select where to publish
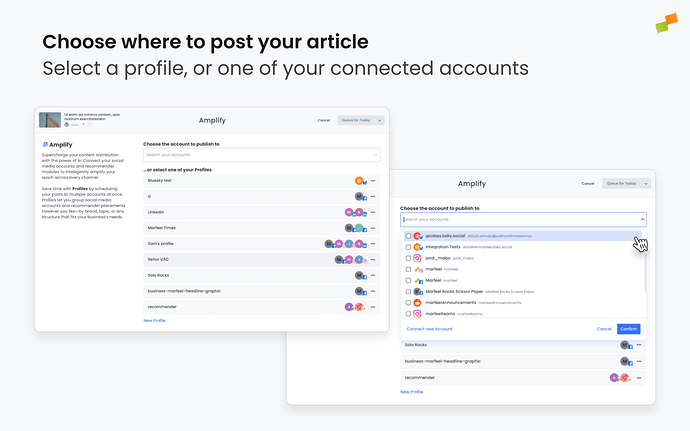
Choose where you want to publish your post. You can select a single account or multiple accounts, depending on your distribution strategy.
- Accounts: These represent individual feeds, such as a Facebook page, a push notifications service, or an on-site recommender module.
- Profiles: Group multiple accounts together to publish to several feeds at once. Visit our detailed article to learn more about creating and editing profiles.
Prepare your post’s images
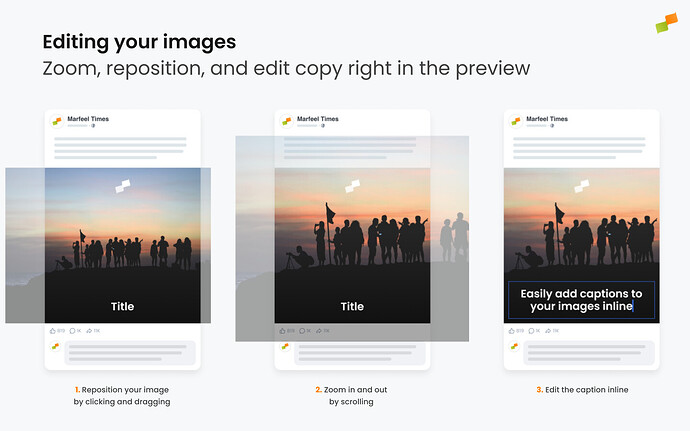
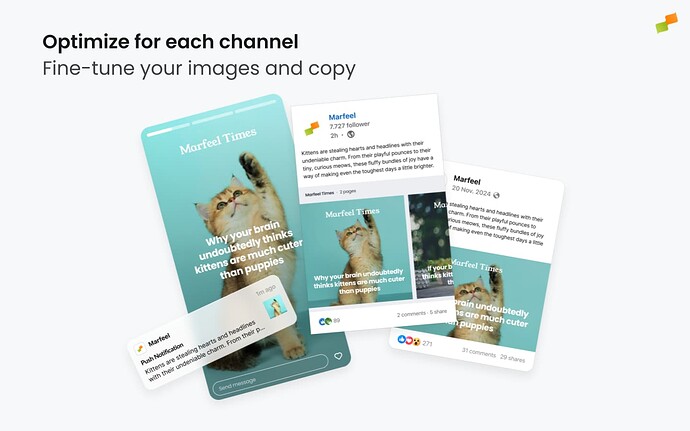
Marfeel will automatically detect and pull all images from your article and let you choose which one to use. The default layout that is set up for your account will be applied, but you can customize the image further, choosing a different layout, moving it around and zooming in and out. You can also add more images from the article, or manually uploaded, to create a story or a carousel.
Write your post with Copilot
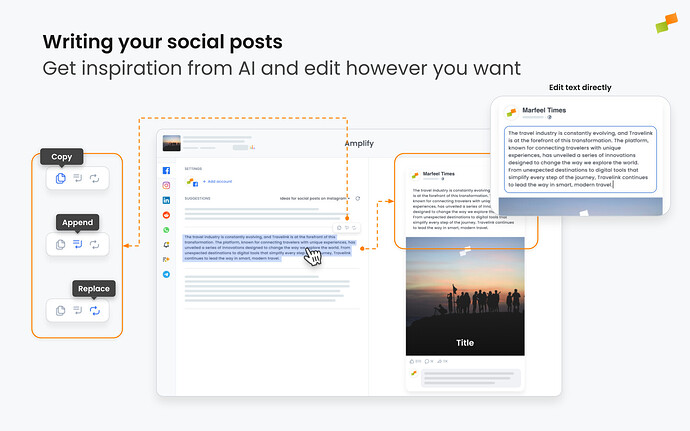
Generate your post with Marfeel Amplify’s AI-powered suggestions. It will provide a default option based on your article’s og:title and og:description OpenGraph attributes, and three additional suggestions from Marfeel Copilot, generated using one of your prompts. These suggestions are tailored to your article’s content, giving you a strong starting point. You can use them as-is, edit them in-line directly in the post preview, or write your own from scratch.
Adjust for multiple channels
After generating the images and text for your post, you will want to review it and make sure it is adapted to each channel you’re publishing on. Click through the channels on the left, check the preview, and make adjustments if needed.
Publish or schedule your post
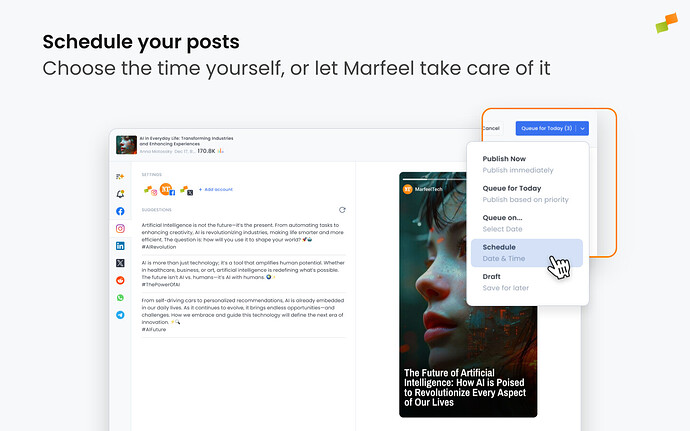
Choose whether to publish now, schedule on a specific date and time, or queue to post your story at the most optimal time based on analysis of your data.
Become a Marfeel Amplify expert
Learn how to publish smarter, automate sharing, and optimize your social strategy with our Marfeel Amplify Course.
Workflow-focused training
Automation strategies
Certificate of completion included
![]() Start now on Marfeel Academy.
Start now on Marfeel Academy.
Connecting your accounts
Connecting distribution accounts to Marfeel can be done contextually from within the Amplify post creation screen, or via Account Settings.
Visit our documentation to learn how.
Getting to know the key screens
Now that you know how to make your first posts and you have connected your accounts, it’s time to take a tour of Marfeel Amplify and get acquainted with the different screens you will be using to supercharge your content distribution on social media and beyond.
Posts
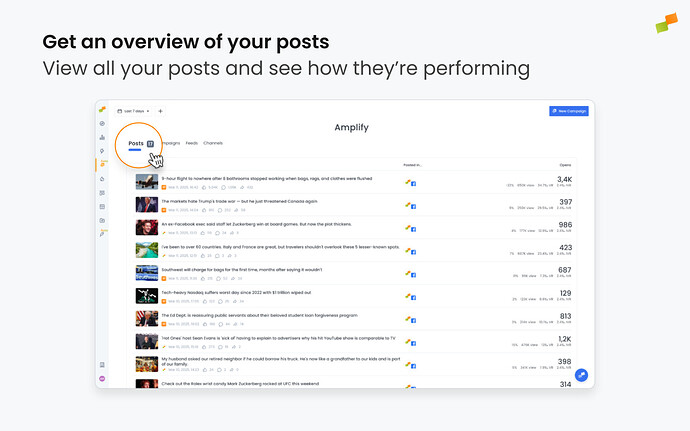
Posts offers an overview of the articles you have published on your connected accounts along with their performance metrics. It is useful to see what has been published today and how it is performing so far at a glance. You can apply filters to this view, choosing to view posts from specific channels, and customize the time frame so you can see how your content performed on specific days.
Feeds
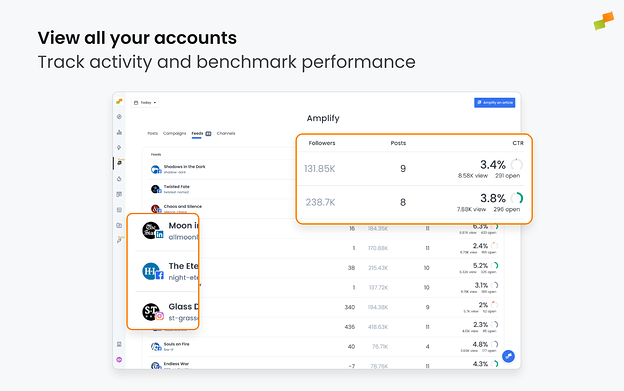
Feeds provides a comprehensive view of all your connected accounts, offering key metrics for easy performance tracking and benchmarking. Data is pulled directly from each platform, and predictive analytics deliver valuable context, helping you quickly identify when accounts are exceeding or falling short of their historical performance benchmarks. Visit our detailed article to learn more about Feeds.
Feed Details
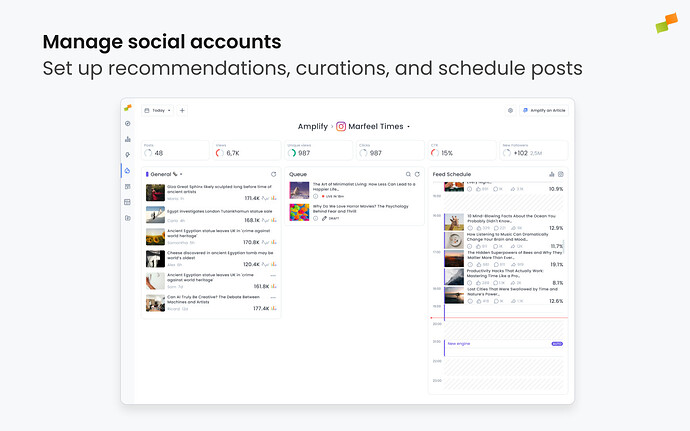
Feed Details offers a detailed view of each of your connected accounts. It is divided into three columns:
- Smart Recommendations: shows recommended content to post based on the guidelines you have selected.
- Queue: where posts go when they are queued. The posts in this column take precedence over those in Smart Recommendations for scheduling.
- Feed Schedule: a timeline that shows what articles have been posted, with performance metrics, and which ones are scheduled in the future, including time slots where automation is set up.
Visit our detailed article to learn more about Feed Details.
Channels
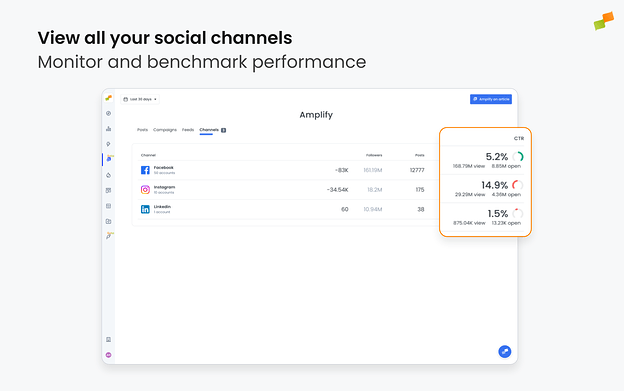
Channels provides an overview of all your connected channels, aggregating the metrics from the accounts belonging to each one such as follower growth or decline, volume of published posts within your chosen timeframe, and engagement figures, all at a channel level.
Amplify Popup
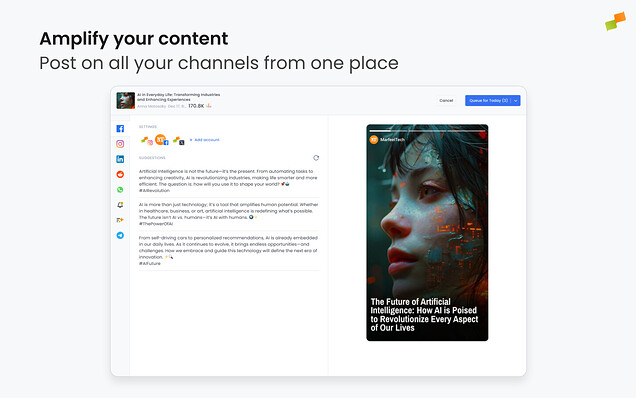
The core of Marfeel Amplify. This screen lets you generate and schedule posts for social media and other channels. While in the Amplify popup you can write the copy of your post, select and customize the images it contains, choose the aspect ratio and layout, and other settings like adding a link in the first comment. Publishing options, such as schedule, or queue for optimal time, are also set here.
Article Details
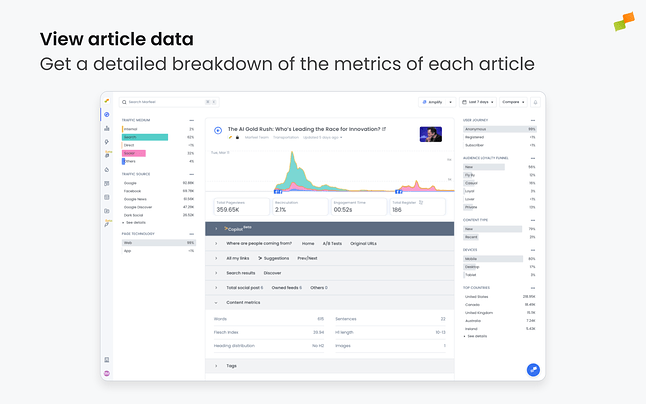
This screen provides a detailed breakdown of the main metrics and KPIs of a specific article, and it is accessible from anywhere in Marfeel where you can see an article-level entry, such as the main Compass dashboard. Article details can serve as a jumping off point to amplify an article for social media, clicking the Amplify button in the top right.
Explore Reports
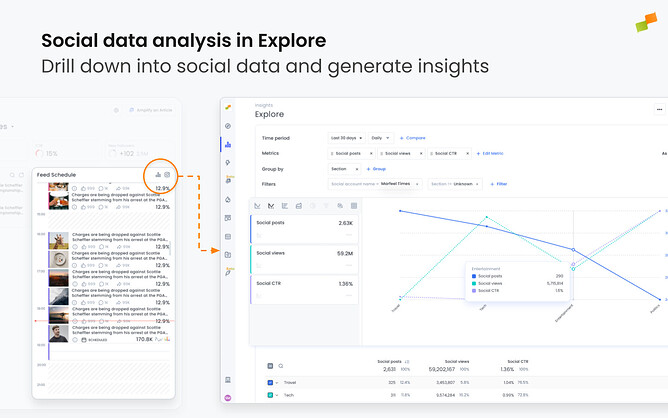
Marfeel captures a host of Social Media data which can be consumed through Explore, allowing users to build detailed Social Media reports, analyzing performance across channels, accounts, topics, post formats, time windows, and more. Furthermore, if a report contains article-level entries, said articles can be amplified directly from within Explore.
Dashboard
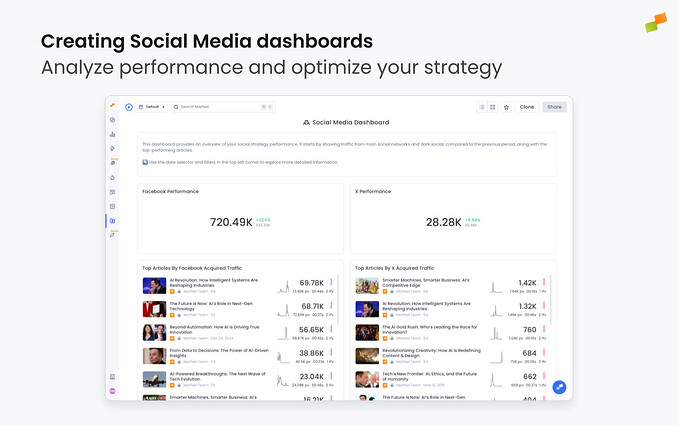
Any view within Marfeel, including reports, can be saved and visualized in a dashboard. This allows for the creation of dedicated and collaborative dashboards for different teams and functions, such as the social media or distribution teams. Again, article-level entries can be amplified from within the dashboard by clicking on the Amplify icon.

